
Understanding Tritucap Debris Zone Safety
Essential safety protocols for operating wood chippers and shredders, covering hazards, protective equipment, and proven techniques to prevent serious injuries.
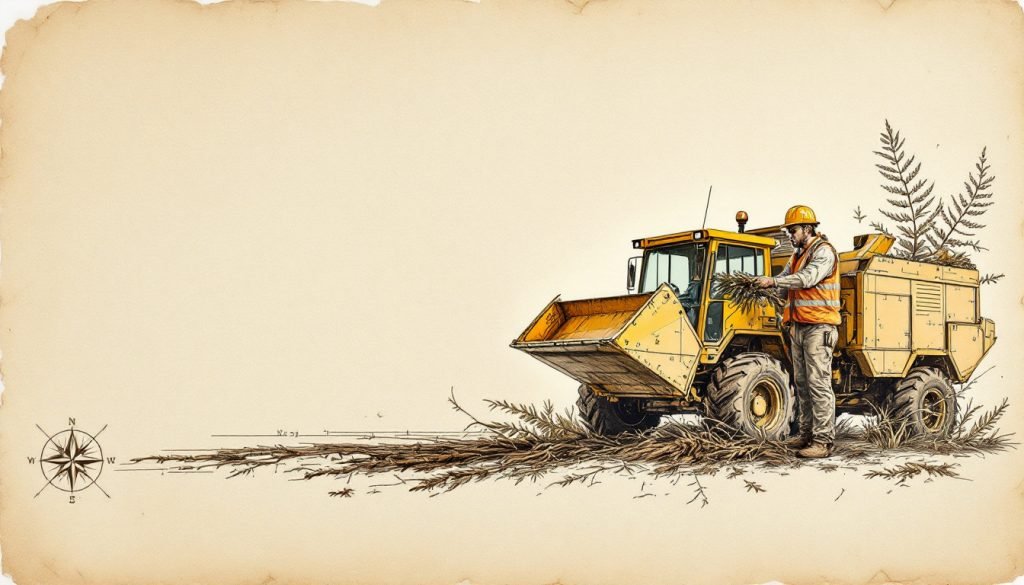
- Wood chipper knives spin at 1000-2000 RPM and can sever limbs instantly. Always stand to the side of the infeed chute, never directly in front. Proper PPE includes hard hat, safety glasses, hearing protection, cuff-less gloves, steel-toed boots. Feed material using push sticks or long branches, never hands or feet. Stop operation immediately if you notice excessive vibration, unusual sounds, or hood latch issues.
You’ve just finished a major tree removal job on your property, or perhaps your landscaping crew wrapped up seasonal pruning. Now you’re staring at a mountain of branches, limbs, and brush that needs processing. The wood chipper sits ready, its sharp knives and powerful engine promising to turn that debris into useful mulch. But as you approach this machine, you can’t shake the image of news stories about devastating chipper accidents. You’re right to be concerned – those same sharp knives and powerful engines that shred wood can cause catastrophic injuries in seconds.
As Michael J. Hartman, ISA Board Certified Master Arborist with three decades in the field, I’ve seen too many close calls and preventable accidents around wood chippers and shredders. This guide distills the essential safety protocols that separate smooth operations from emergency room visits. By the end, you’ll understand exactly how these machines cause injuries, what protective measures actually work, and the specific steps to operate chippers and shredders without becoming another statistic.
Understanding Chipper and Shredder Hazards
The primary danger zone of any chipper is the infeed chute where branches enter the machine. Self-feeding chippers use powerful rollers that can grip clothing, gloves, or limbs and pull them toward rotating knives spinning at 1,000-2,000 RPM. These knives generate enough force to process 6-inch diameter hardwood limbs, meaning they can sever an arm in milliseconds. The centrifugal force throws chips and debris at speeds exceeding 100 mph from the discharge chute, creating projectile hazards.
Secondary hazards include thrown objects from damaged or improperly secured chipper disc hoods. When hood latches fail or damage goes unnoticed, the rotating disc can eject the entire hood assembly with lethal force. Tripping hazards around the work area compound these dangers – uneven ground, scattered branches, and loose debris create opportunities for falls directly into operating equipment. Understanding these specific mechanisms of injury guides every safety protocol we implement.
Feed Control Bar: A safety mechanism that immediately stops the feed rollers when activated, allowing operators to halt material flow without shutting down the engine.
Personal Protective Equipment Requirements
Operating a chipper without proper PPE is like driving without brakes – technically possible until you need to stop. Hard hats protect against falling branches and debris kicked back from the chipper. Safety glasses with side shields prevent wood chips and sawdust from causing eye injuries. Hearing protection is mandatory – most chipper engines operate at 85-110 decibels, causing permanent hearing damage within minutes of unprotected exposure.
Hand protection requires careful selection. Cuff-less gloves prevent the feed rollers from grabbing loose material. Leather palm gloves provide grip while maintaining dexterity for branch manipulation. Steel-toed boots with aggressive tread prevent slips and protect against dropped limbs. Buttoned shirt sleeves tucked into gloves and pants without cuffs eliminate snag points that self-feeding rollers can grab.
Essential PPE Checklist
- Hard hat: ANSI Z89.1 Type 1 Class E rated for electrical hazards
- Safety glasses: ANSI Z87.1 with side shields or wraparound design
- Hearing protection: NRR 25+ ear muffs or foam earplugs
- Gloves: Leather palm, cuff-less, good grip in wet conditions
- Boots: Steel toe, aggressive lug sole, 6-inch minimum height
Work Area Setup and Positioning
Proper chipper placement prevents 80% of work-related accidents before processing begins. Position the chipper on level ground, ideally paved or compacted gravel, to eliminate tripping hazards and provide stable footing. The machine should sit perpendicular to prevailing winds to prevent blown chips from affecting workers. Maintain a 10-foot minimum clear zone around the infeed chute, marking the area with cones or tape to establish a safety perimeter.
The discharge chute requires equal attention. Position it to blow chips into the designated pile area, never toward buildings, vehicles, or work areas. Angle the chute away from the feeding zone – a 45-degree offset prevents chips from striking workers feeding material. Clear all trip hazards from the feeding path, including loose branches, tools, and debris. Designate specific drop zones for incoming material at least 6 feet from the infeed chute, creating a buffer zone between workers and the machine.
Pro Tip: Before starting any chipper operation, walk the entire work area backwards from the chipper’s discharge chute. This reveals hidden hazards like low branches, uneven ground, or obstacles that become dangerous when you’re focused on feeding material and can’t see behind you.
Safe Operating Procedures
Starting procedures matter as much as operation. Conduct a pre-operation inspection: check all hood latches, verify knife sharpness and security, inspect drive belts for wear, confirm all safety shields are in place. Test the feed control bar and emergency stop mechanisms before loading any material. Start the engine and let it reach operating temperature while checking for unusual vibrations or sounds.
Feeding technique separates experienced operators from accident statistics. Always stand to the side of the infeed chute, never directly in front. Use push sticks or branches longer than 6 feet to feed short material – never use your hands. Feed branches butt-end first to prevent kickback. Let the machine pull material at its own pace; forcing material increases kickback risk. When processing vines or stringy material, feed in small batches to prevent wrapping around feed rollers.
Daily Pre-Operation Inspection
- Check all hood latches for proper engagement and wear
- Inspect knives for chips, cracks, or excessive wear
- Verify drive belts have proper tension and no visible damage
- Test emergency stop and feed control bar functionality
- Confirm all safety decals are legible and in place
Common Operator Mistakes
The most dangerous mistake is rushing the feeding process. Operators who try to clear brush piles quickly often bypass safety protocols, leading to hands too close to the infeed chute or attempts to push material with feet. This creates the exact scenario that causes severe injuries – limbs entering the chipper with the material. Another critical error involves feeding material while standing downhill from the chipper, where gravity and loose footing combine to push workers toward the machine.
Equipment modifications represent another serious hazard. Removing or disabling safety shields, feed control bars, or emergency stops might seem to speed up work, but these devices exist because they’ve prevented countless accidents. Similarly, using the chipper for materials beyond its capacity – like large roots or metal-contaminated wood – can cause catastrophic failures that turn the entire machine into a projectile hazard.
Critical Errors That Cause Injuries
- Standing directly in front: Creates direct path for kickback or being pulled into chipper
- Using hands to push material: Hands follow branches into cutting chamber
- Ignoring unusual sounds: Grinding or vibration changes indicate dangerous mechanical issues
- Working alone: No assistance available for emergency situations or entanglement
Emergency Response and Maintenance
Every chipper operation needs an emergency action plan. Designate a spotter positioned to monitor the feeding area and maintain visual contact with the operator. Establish clear hand signals for stop, slow, and help. Keep a first aid kit within 50 feet of the chipper, and ensure all crew members know its location. Post emergency contact numbers including local EMS and the equipment rental company.
Regular maintenance prevents most mechanical failures that lead to accidents. Sharpen knives every 25 operating hours or when processing performance decreases. Replace knives in matched sets to maintain rotor balance. Check and adjust belt tension weekly – loose belts can grab clothing or snap under load. Grease all fittings according to manufacturer specifications, typically every 8 hours of operation. Document all maintenance in a log book kept with the machine.
Warning Signs of Imminent Failure
- Excessive vibration: Indicates unbalanced rotor or loose components
- Unusual grinding sounds: Suggests foreign objects or worn bearings
- Slow feeding: Indicates dull knives or feed roller issues
- Hood latch problems: Immediate shutdown required until repaired
Professional vs DIY Considerations
Homeowners with small brush piles under 4 inches in diameter can safely operate rental chippers following these protocols. However, processing hardwood limbs over 4 inches, entire trees, or jobs requiring more than 4 hours of chipping time justify professional services. Commercial operations use larger machines with hydraulic feed systems, trained operators, and comprehensive insurance coverage that homeowners lack.
The tipping point often involves volume and complexity. A single large oak removal can generate 10-15 cubic yards of chips – enough to fill a 20-yard dumpster. Professional crews process this volume in 2-3 hours versus 8-10 hours for homeowners. More importantly, professionals carry workers’ compensation and liability insurance that protects homeowners from accidents. For any job requiring climbing or technical rigging to access material, hire certified arborists who understand both tree work and chipper safety.
Next Steps for Safe Operation
Safe chipper operation starts with honest self-assessment. If you lack experience with powerful equipment or the job exceeds your comfort level, contact a certified arborist. For DIY jobs, rent only from dealers who provide hands-on safety demonstrations and require proof of insurance. Take photos of the work area before starting – this documents conditions if accidents occur. Most importantly, never operate alone – have someone trained in emergency response within shouting distance.
Before each use, review these protocols with everyone present. Establish your emergency plan, check your PPE, and conduct the pre-operation inspection. Remember that wood chippers are unforgiving – they don’t distinguish between branches and body parts. The few extra minutes spent on safety protocols could save you from a lifetime of regret. When in doubt, step back and reassess. The mulch isn’t worth the risk. For additional guidance on operating safety basics and avoiding rotor jams, consult the manufacturer’s resources. External safety standards from OSU Extension and OSHA guidelines provide comprehensive hazard solutions.
