
How to Handle Chipped Cover Erosion Control
Learn how chipped wood cover controls erosion on slopes, bare soil, and disturbed sites — with practical guidance from an ISA Master Arborist.
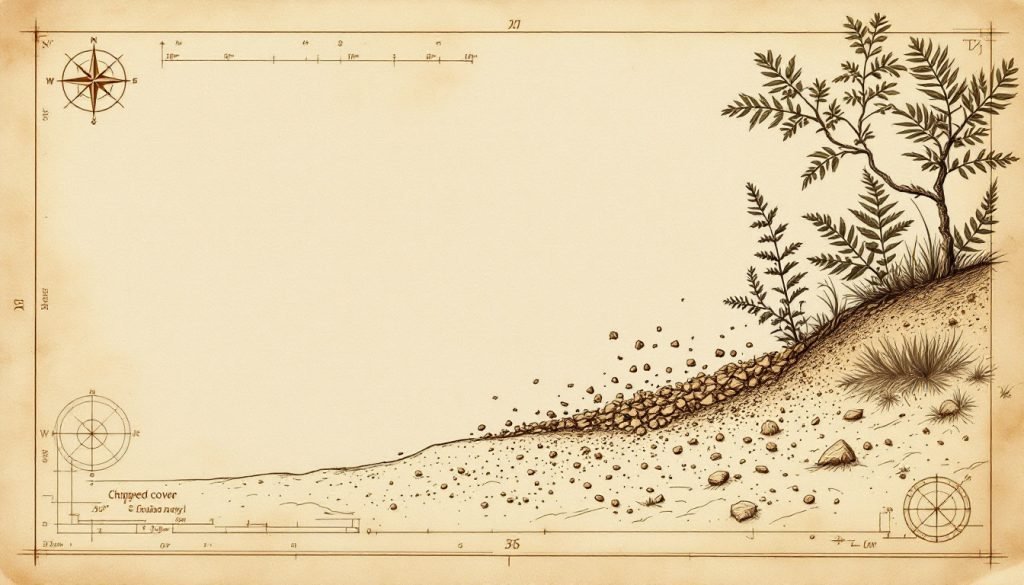
- Chipped wood cover interrupts both rainfall detachment and surface runoff transport, reducing erosion by 50 percent or more on moderate slopes.
If you’ve recently had trees removed, run a woodchipper through storm debris, or cleared a slope that’s now bare and vulnerable to runoff, you’re facing a problem that arborists deal with constantly: exposed soil that will erode before new vegetation establishes. Chipped wood cover — the ground layer created by spreading fresh or aged wood chips across disturbed soil — is one of the most effective, low-cost erosion control strategies available to both homeowners and land managers. It works by intercepting rainfall energy, slowing surface water velocity, and improving soil structure over time as the chips break down.
The technique sounds simple, but execution matters enormously. Depth, chip size, placement relative to tree root zones, and the source of your chips all affect whether you get genuine erosion control or a soggy, compacted mat that causes more problems than it solves. I’m Michael Hartman, ISA Board Certified Master Arborist (TX-0198B), and in this article I’ll walk you through the mechanics of how chipped cover controls erosion, how to apply it correctly, what mistakes to avoid, and when a more engineered approach — such as the Tritucap system — is warranted for steeper or higher-flow sites.
By the end, you’ll understand not just how to spread chips, but why the material behaves the way it does, and how to match your application strategy to the specific erosion risk you’re managing.
Why Chipped Wood Cover Controls Erosion
Erosion happens in two stages: detachment and transport. Raindrops strike bare soil at roughly 20 mph, dislodging particles and creating a thin slurry that surface runoff then carries downslope. A layer of chipped wood cover interrupts both stages simultaneously. The chips absorb the kinetic energy of rainfall before it reaches the soil surface, and the irregular chip geometry creates physical resistance that slows sheet flow across the ground.
Beyond the mechanical barrier effect, wood chips improve the soil’s own infiltration capacity over time. As chips decompose, fungal hyphae bind soil particles into aggregates, increasing pore space and allowing water to move vertically into the soil profile rather than horizontally across it. Research on forest floor dynamics consistently shows that even a 2-inch layer of organic mulch can reduce surface runoff by 50 percent or more on moderate slopes. On a freshly graded construction site or a slope cleared of vegetation, that reduction is the difference between stable soil and a gully forming after the first hard rain.
Chipped Cover: A ground layer formed by spreading mechanically chipped woody material — branches, brush, or whole-tree chips — across bare or disturbed soil to reduce erosion, moderate soil temperature, and retain moisture.
The chip size matters more than most people realize. Chips in the 1- to 3-inch range interlock without compacting, maintaining air pockets that allow both water infiltration and gas exchange. Very fine material — the kind produced by a high-speed drum chipper set to a fine screen — behaves more like sawdust. It mats down quickly, sheds water rather than absorbing it, and can actually increase runoff on slopes. Coarser chips from a disc chipper or a low-speed chipper like those used in Tritucap-style applications retain their structure longer and provide more durable erosion protection.
Choosing the Right Chip Material for Your Site
Not all wood chips are equal for erosion control purposes. Fresh green chips — the mixed wood-and-leaf material that comes directly off a woodchipper after pruning or removal work — are ideal for most applications. The leaf and bark fraction adds nitrogen and decomposes quickly, feeding soil biology, while the woody core persists long enough to provide structural protection through the first growing season. Arborists call this material “ramial chipped wood” when it comes from branches under 7 cm in diameter, and it has a well-documented record of improving soil structure.
Aged or composted chips are less effective for immediate erosion control because much of the structural bulk has already broken down. They’re excellent soil amendments but won’t give you the same surface roughness and water-slowing effect as fresh chips. Bark mulch — the shredded or nugget product sold in bags at garden centers — is even less suitable for erosion control on slopes because the uniform particle size allows it to float and migrate during heavy rain events.
Pro Tip: When coordinating with a tree crew, ask them to chip directly onto your erosion-prone areas rather than hauling chips away. Fresh chips delivered this way cost nothing beyond the coordination, and the mixed-species, mixed-size material from a real job site outperforms any bagged product for erosion control. I’ve seen homeowners save hundreds of dollars on erosion repair simply by being on-site when a crew is working nearby.
For sites near waterways or in jurisdictions with stormwater regulations, confirm that your chip source is free of invasive species seed material. Chips from trees infected with certain pathogens — oak wilt, thousand cankers disease, emerald ash borer-affected ash — should not be moved off-site at all, and in some states are subject to quarantine restrictions. Always know the source of your material before spreading it across a site.
How Tritucap and Engineered Chipped Cover Systems Work
Standard chip spreading works well on slopes up to about 15 percent grade. Above that threshold, chips can migrate downslope during heavy rain events, leaving the upper portion of the slope exposed. This is where engineered systems like Tritucap become relevant. Tritucap is a geotextile-based erosion control product that incorporates chipped or shredded wood fiber within a biodegradable matrix, allowing the material to be applied to steep slopes, channels, and disturbed roadsides where loose chips would simply wash away.
The principle behind Tritucap and similar wood-fiber erosion control blankets is that the geotextile netting holds the chip material in contact with the soil surface long enough for vegetation to establish. Once grass or native groundcover roots knit the soil together — typically within one to two growing seasons — the blanket biodegrades and the wood fiber becomes part of the organic layer. This approach is standard practice in highway construction, pipeline restoration, and post-wildfire rehabilitation work where slopes exceed 25 percent and conventional mulching is impractical.
For residential applications, the choice between loose chip spreading and a Tritucap-style blanket comes down to slope angle, expected rainfall intensity, and how quickly you need vegetation to establish. On a 10-percent slope with moderate rainfall, loose chips at 3 to 4 inches depth will hold. On a 30-percent cut slope with clay soil and summer thunderstorms, an engineered blanket is the responsible choice.
Application Depth and Coverage Rates
The single most common error in chipped cover erosion control is applying too little material. A 1-inch layer looks like coverage but provides minimal protection — chips shift, gaps open, and the soil underneath remains vulnerable. The functional minimum for erosion control on flat to gently sloping ground is 3 inches of compacted depth, which typically requires spreading 4 to 5 inches of loose chips. On slopes above 10 percent, target 4 inches of compacted depth.
Coverage rates depend on chip bulk density, which varies by species and moisture content. Fresh green chips from hardwoods typically run 400 to 500 pounds per cubic yard. A cubic yard of chips covers approximately 100 square feet at 3-inch depth. For a 1,000-square-foot bare slope, you’re looking at 10 cubic yards minimum — more than most homeowners expect. Underestimating material needs is why so many DIY erosion control projects fail after the first significant rain event.
Chipped Cover Application Checklist
- Grade or rake the bare soil surface to remove large clods and debris before spreading chips
- Apply a minimum 3-inch compacted depth on flat ground; 4 inches on slopes above 10 percent
- Keep chips at least 6 inches away from tree trunk flares to prevent crown rot and cambium damage
- On slopes above 15 percent, install erosion control logs or fiber wattles every 10 to 15 feet to prevent chip migration
- Water the chip layer lightly after application to settle material and initiate decomposition contact with soil
- Inspect after the first significant rainfall and add material to any areas where soil is visible
One calculation that surprises property owners: a standard residential woodchipper running for two hours on a medium-sized tree generates roughly 3 to 5 cubic yards of chips — enough to cover 300 to 500 square feet at proper depth. If you’re managing a larger disturbed area, plan to supplement with chips from a tree service or a municipal chip drop program.
Placement Around Tree Root Zones
Chipped cover and tree root zones interact in ways that require careful attention. Applied correctly, chips over root zones mimic the forest floor, moderating temperature, retaining moisture, and feeding mycorrhizal networks. Applied incorrectly — piled against the trunk in the classic “mulch volcano” pattern — chips trap moisture against the bark, promote crown rot, and create habitat for rodents that girdle roots and cambium.
The correct approach is a donut pattern: chips spread from 6 inches away from the trunk flare out to the dripline or beyond, at 3 to 4 inches depth. On a mature oak with a 30-foot canopy spread, that’s a 15-foot radius of chip coverage — a substantial area that also happens to be exactly where the feeder roots are concentrated. This approach simultaneously controls erosion in the root zone and supports tree health, which is why arborists recommend it as standard practice after any soil disturbance near trees.
Common Mistakes That Undermine Chipped Cover Erosion Control
Applying chips on top of landscape fabric is one of the most counterproductive combinations in site management. The fabric blocks the biological connection between chips and soil, preventing the decomposition process that builds soil structure over time. Water infiltration through fabric degrades rapidly as fine particles clog the weave, and within two to three years you have a hydrophobic barrier that increases runoff rather than reducing it. Remove existing landscape fabric before applying chips for erosion control.
Common Mistakes to Avoid
- Mulch volcanoes against tree trunks: Piling chips against bark traps moisture, promotes fungal rot, and can kill a tree within three to five years. Always maintain a 6-inch gap around the trunk flare.
- Using fine sawdust or screened compost on slopes: Fine-particle material mats and sheds water rather than absorbing it, accelerating runoff on grades above 5 percent.
- Single thin application: One inch of chips provides almost no erosion protection. Committing to the correct 3- to 4-inch depth from the start costs less than repairing erosion damage and reapplying material after a rain event.
- Ignoring chip source restrictions: Moving chips from quarantine zones for emerald ash borer, oak wilt, or other regulated pests can spread infestations to new areas and carries legal penalties in many states.
Another underappreciated mistake is failing to address the water source driving erosion. Chips slow sheet flow but cannot redirect concentrated flow from a downspout, a driveway drain, or a swale that’s been blocked. Before spreading any material, trace where the water is coming from and whether it can be redirected or dispersed. Chips applied in the path of a concentrated flow channel will simply wash away, no matter how deep you apply them.
When to Bring in a Professional
Most chipped cover erosion control on residential properties is within the capability of an informed homeowner. Spreading chips on a bare slope, around a tree root zone, or across a disturbed garden bed requires no specialized equipment beyond a wheelbarrow and a rake. The judgment calls that benefit from professional input are site assessment — determining whether the erosion risk is from sheet flow or concentrated flow, whether the slope angle exceeds the threshold for loose chips, and whether there are drainage infrastructure issues driving the problem.
On commercial sites, post-construction disturbed areas, or any slope adjacent to a regulated waterway, erosion control plans are typically required by local stormwater ordinances. These plans specify material types, application rates, and inspection schedules. An ISA Certified Arborist or a licensed landscape architect can help you navigate those requirements and select the right combination of chipped cover, erosion control blankets, and revegetation to meet both regulatory and practical goals. Getting the plan right before the first rain is always less expensive than remediation after a significant erosion event.
What to Do Next
Start by walking your site after a moderate rain and observing where water moves. Look for rills — small channels carved by concentrated flow — and areas where soil has been deposited downslope. Those observations tell you where erosion is actively occurring and where chip coverage needs to be deepest or supplemented with a physical barrier like a fiber wattle or erosion control blanket.
If you have access to fresh chips from recent tree work, begin applying them immediately to the most vulnerable areas at 3 to 4 inches depth. If you need to source material, contact local tree services — many will deliver chips at no charge to avoid disposal fees. For slopes above 15 percent or sites with concentrated flow problems, consult an arborist or erosion control specialist before committing to a material and method. The right chipped cover strategy, applied at the right depth and in the right location, will protect your soil through the establishment of permanent vegetation and continue improving soil health for years afterward.
For additional guidance on mulch options for erosion and regulatory compliance, refer to the EPA stormwater BMPs for construction sites.
