
Tree Trunk Disposal Options for Better Results
Learn why surface roots occur, how to diagnose the real problem, and what action to take before they damage your foundation, driveway, or tree stability.
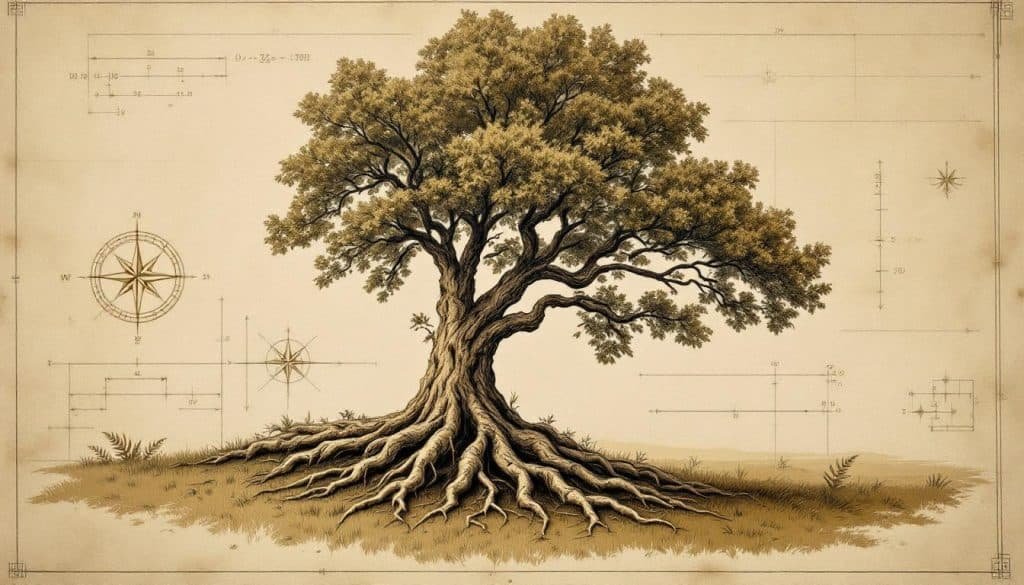
- Surface roots are structural, not feeder, and support 60-80% of tree mass. Compaction or poor drainage forces roots upward into oxygen-rich top 6-10 inches. Never cut roots within 1.5× trunk diameter from the base to preserve stability. Convert lawn conflicts to mulch rings; use Air-Spading to2 inches max. For roots within 5 feet of foundations, hire an ISA certified arborist first.
You noticed them first as slight humps in the lawn, then as concrete-cracking ridges beneath the driveway. Surface roots from your aging oak or maple have become impossible to ignore, and now you’re wondering whether to cut them, bury them, or call someone. As Michael J. Hartman, ISA Board Certified Master Arborist TX-0198B, I’ve diagnosed hundreds of these cases across Texas. By the end of this guide you’ll know exactly why roots surface, how to evaluate the risk, and which interventions actually work without killing the tree or compromising your home’s foundation.
The Biology Behind Surface Rooting
Tree roots do not “decide” to surface for fun. The process begins when something below ground forces the structural roots—the woody, perennial anchors that can be 4–12 inches thick—to grow upward. Compacted soil, poor drainage, buried construction debris, or a high water table all act like concrete ceilings beneath the soil. Roots respond by growing where oxygen, water, and pore space actually exist: the top 6–10 inches of soil.
Live oaks and maples are repeat offenders because they are opportunistic feeders. Their fine feeder roots proliferate wherever resources concentrate, and in urban landscapes that concentration zone is often the interface between turf irrigation and compacted sub-soil. Once the structural root turns upward and becomes a surface root, secondary thickening (annual diameter growth rings) locks that orientation in place. Cutting it five years later does not encourage downward re-orientation; you simply remove a structural beam that the tree has already built.
Surface root: Any woody root ≥2 inches diameter that is visible above grade or that has pushed the soil surface upward. They are structural, not feeder, and support 60-80% of the tree’s above-ground mass.
Diagnosing the Real Problem
Before you pick up a saw or shovel, diagnose why the root surfaced. Walk the entire root zone (from trunk to at least the drip line) and note patterns. If roots surface only on one side, suspect buried construction debris or chronic irrigation overspray creating a shallow moisture zone. If roots emerge uniformly around the trunk, look for soil compaction from vehicular traffic or years of turfgrass fertilization. Probe the soil with a long screwdriver every 3 feet; if it hits hard pan within 6 inches, compaction is confirmed.
Check the tree for secondary stress signals: thinning canopy, early fall color, or epicormic shoots along the trunk. These indicate the tree is reallocating resources to compensate for declining root efficiency. Measure trunk diameter 4.5 feet above grade; roots within 3× that diameter from the trunk are critical stabilizers and should never be cut. Anything beyond 5× the diameter is lower risk but still requires evaluation.
Warning Signs to Watch For
- Heaving pavement: Sidewalk or driveway sections tilted >1 inch—indicates large structural root directly beneath.
- Soil mounding: Circular ridges 6–12 inches high around trunk—suggests whole root plate is lifting.
- Bark cracking on trunk: Vertical splits on the side opposite surface roots—tree compensating for uneven support.
Evaluation and Risk Assessment
Surface roots are not inherently dangerous to the tree, but they can threaten infrastructure. Use a flexible tape to map each root ≥2 inches diameter running within 10 feet of foundations, driveways, or retaining walls. Mark them with spray paint. Next, determine depth: scrape away soil until you find the top of the root. If any root is <3 inches below final grade and aimed directly at concrete, it will continue to expand and exert pressure.
Calculate the critical root radius (CRR): Trunk diameter in inches × 1.5 = CRR in feet. Any roots inside this radius are load-bearing. For a 24-inch diameter oak, the CRR is 36 feet. Removing surface roots at 20 feet still compromises stability. Document everything with photos; if you later hire a consulting arborist, this baseline speeds the diagnosis.
Pre-Intervention Checklist
- Measure trunk diameter at 4.5 ft height
- Map and mark all surface roots within CRR
- Probe soil depth and compaction around each root
- Photograph roots relative to hardscape
- Check local permit requirements for root pruning near protected trees
Non-Invasive Management Techniques
The safest, cheapest fix is often to eliminate the conflict instead of the root. For lawn conflicts, convert the area to a mulch ring extending to the drip line. Use arborist wood chips 3–4 inches deep; this insulates roots, reduces mower damage, and hides the surface roots visually. Where roots threaten sidewalks, install a flexible rubber sidewalk panel or a raised wooden boardwalk that bridges over the roots without soil removal.
Air-spading can lower high roots by 1–2 inches without cutting. The tool uses compressed air to blow soil away, after which you can gently shave the top of the root with a sharp spade and re-grade with loamy topsoil. Never remove more than 10% of root cross-sectional area in this manner. Follow with 2–3 inches of compost and a new turf species tolerant of shade and shallow soil, such as tall fescue or St. Augustine.
Pro Tip: Instead of adding soil on top of surface roots (which suffocates them), use a structural soil mix under new pavers. This blend of gravel and loam supports pavement weight while leaving 25% air space for continued root growth.
When Root Removal Is Necessary
If a root directly undermines a foundation or utility line, removal may be justified. First, verify the root is outside the CRR. Next, make a clean, angled cut with a sharp chainsaw or reciprocating saw fitted with a 12-inch pruning blade. Cut at the point where the root exits the conflict zone and again at least 3× the root diameter away from the trunk—this preserves the root collar.
Immediately cover the fresh cuts with a natural tree paint or wax to prevent desiccation and pathogen entry. Do not seal with concrete or asphalt; these trap moisture and promote rot. Monitor the tree for crown dieback over the next two growing seasons. Any dieback >15% indicates the cut removed too much structural support, and cabling or tree removal may be required.
Tools You Will Need
- Sharp chainsaw or reciprocating saw: Fine-tooth carbide blade reduces tearing.
- Long-handled spade: For exposing root circumference without damaging bark.
- Root collar excavation tools: Air-spade or hand pick to expose critical root flare.
- Tree wound dressing: Natural wax or asphalt emulsion, not petroleum-based paints.
Common Mistakes Homeowners Make
The most expensive mistake is severing roots flush against the foundation. These roots often act as underground flying buttresses that stabilize the tree in high winds. Removing them can shift the entire root plate, leading to sudden lean or failure. Another error is adding 6–8 inches of soil over surface roots to “bury them.” Roots need oxygen; suffocation begins within weeks and manifests as chlorotic leaves the following spring.
People also attempt to redirect roots by installing plastic barriers vertically. Roots simply grow over or under the barrier within 2–3 years. Barriers only work when installed at planting time, angled outward at 30–45°. Finally, don’t confuse surface roots with girdling roots. Girdling roots circle the trunk at or below grade and strangle the tree; those require immediate removal, but the techniques differ.
Common Mistakes to Avoid
- Cutting inside the CRR: Reduces stability by >25% and voids insurance coverage if the tree falls.
- Soil mounding over roots: Suffocates cambium; tree declines within 12–18 months.
- Using rock salt or herbicide: Kills the entire root system and adjacent plants.
Seasonal Timing and Aftercare
Root pruning is least risky during late fall (after leaf drop) to early spring (before bud break). Carbohydrate reserves are stored in the roots, minimizing stress, and wound closure is fastest during cool weather. Avoid pruning during drought or within 6 weeks of major storm season. After any intervention, water the entire root zone deeply once per week for the first growing season, applying 1 inch of water each time.
Install a 2–3 inch layer of arborist mulch over the affected area to moderate soil temperature and conserve moisture. Avoid fertilizer high in nitrogen immediately after root work; excess nitrogen forces foliage growth when the tree needs to allocate resources to root recovery. Inspect the tree monthly for any signs of decline: sparse canopy, small leaves, or dieback at branch tips.
When to Act
Best window: late October through February. Why this timing matters and what changes outside this window.
Species-Specific Considerations
Live oak (Quercus virginiana) forms wide, plate-like root systems; surface roots are common after 30 years and rarely threaten foundations because the load is distributed. Silver maple (Acer saccharinum) and red maple (Acer rubrum) are notorious for aggressive, near-surface lateral roots that exploit tiny cracks in pipes and foundations. In these maples, surface roots within 8 feet of a structure almost always need removal.
Arizona ash (Fraxinus velutina) and Bradford pear (Pyrus calleryana) surface roots are brittle and prone to decay after pruning; consider whole-tree removal if >30% of structural roots are involved. Conversely, pecan (Carya illinoinensis) surface roots are resilient and can be successfully air-spaded down 3–4 inches without long-term harm, provided irrigation continues.
DIY vs. Professional Intervention
DIY management is reasonable when surface roots are in lawn areas and no hardscape conflict exists. Install mulch rings, adjust irrigation, and monitor. However, if roots are within 5 feet of a foundation, a certified arborist should perform an Air-Spade investigation and use resistograph drilling to verify root diameter and decay status. Many municipalities require permits for root pruning on protected specimen trees; professionals handle the paperwork and carry insurance if something goes wrong.
The cost differential is often smaller than expected: a homeowner chainsawing a 4-inch diameter root incorrectly can trigger a $5,000 emergency removal when the tree fails. Professional root pruning plus aftercare typically runs $300–$800 for a single large root, including soil replacement and mulch. For multiple roots or trees >30 inches diameter, invest in a full tree risk assessment ($400–$700) before any cutting.
What to Do Next
Start by confirming the tree species and measuring trunk diameter. Map the surface roots with paint and photograph their relation to nearby structures. If any root intersects a driveway, foundation, or utility within 5 feet, schedule a consulting arborist with Air-Spade capability before the next growing season. For lawn-only conflicts, convert the conflict zone to a mulch ring and enjoy lower mowing time. Either way, document everything—future buyers and insurers will ask. When you’re ready to dispose of the trunk sections you’ve removed, review how to get rid of tree trunk material responsibly,a> and check prepare wood and yard waste for disposal guidelines.
