
Common Felling Notch Types You Should Know
Learn the proven five-step felling plan used by certified arboristsers to drop trees precisely and safely every time.
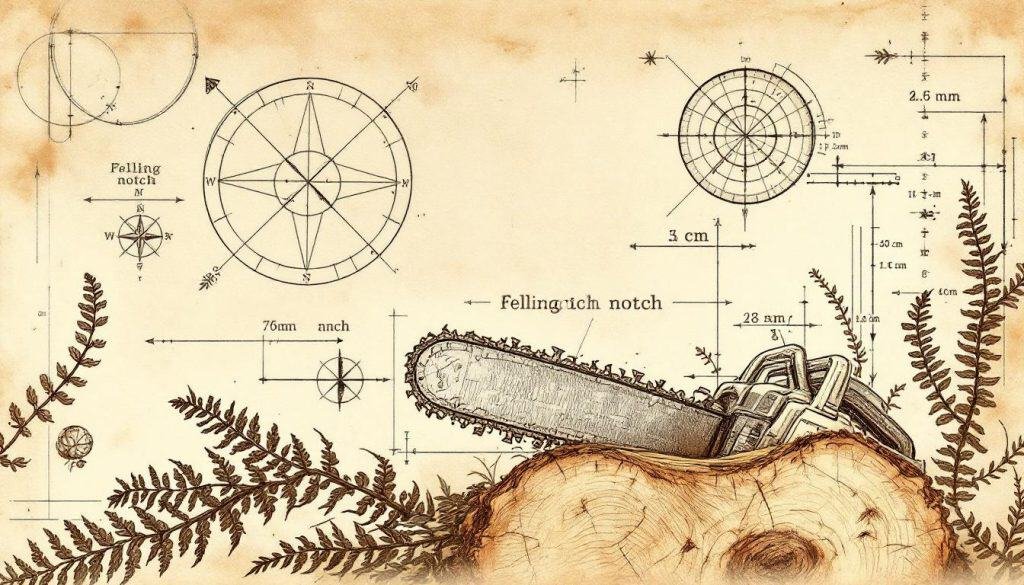
- Five-step felling plan ensures predictable direction and safe escape. Center of mass, lean, and decay dictate fall behavior. Notch depth = 1/3 trunk; hinge thickness = 10% trunk. Escape route must be clear, 45° angle, 20 ft minimum. Trees >20" DBH or near structures require certified arborist.
Your backyard red oak leans toward the garage, its crown weighted heavily on one side. You know it has to come down, but a single miscalculation could send 6,000 pounds of timber through the roof. That exact anxiety brought you here. I’ve stood in your boots—chain saw idling, adrenaline spiking—when a $300 tree job can turn into a $30,000 insurance claim. The five-step felling plan I learned during my ISA Board Certified training and have refined across over thirty years of field work eliminates the guesswork. By the end of this article you’ll know how to read the tree, plan the drop zone, and cut with confidence—whether you’re dropping one maple or an entire grove of p pines.
All instructions below assume you have read and understood the chain-saw safety publications G1958 and G1959 from the University of Missouri Extension. If you have not, stop here and do that first. Safety is non-negotiable.
Why Trees Fall the Way They Do: The Physics and Biology
Gravity always wins. A tree’s center of mass falls straight down, but the trunk, branches, and root system create vectors that can shift that center in surprising ways. Lean angle, crown asymmetry, root decay, and reaction wood all alter the path. Hardwoods like oak and hickory store tension in their fibers, meaning they can split upward during if the hinge fails. Softwoods such as pine and spruce compress and tear, often barber-chairing if the notch is too shallow. Recognising these biological traits lets you predict whether a tree will slide, kick back, or twist during the final cut.
Wind complicates everything. A modest 10 mph breeze applies roughly 200 pounds of lateral force on a 40-foot maple. At 20 mph that force quadruples, easily overpowering an undersized notch or hinge. Always fell in still air; if wind is forecast, reschedule.
Hinge wood: The intact wood between the notch and the back cut that guides the tree’s fall.
Step 1: Examine the Tree and Its Surroundings
Start twenty paces back and circle the tree twice. Look first at the crown for dead limbs, uneven branch density, or broken tops that could dislodge during felling. Next, check the trunk for cavities, conks, or lightning scars that indicate internal decay. Finally, study the ground for exposed roots, loose soil, or erosion that signals a shallow or compromised root system.
Walk your drop zone—two and a half tree lengths in every direction that the tree could conceivably fall. Mark obstacles with cones or flagging tape: lawn furniture, fences, overhead lines. If a power line sits inside that radius, call the utility company; do not attempt the cut yourself.
Warning Signs to Watch For
- Trunk lean greater than 8 degrees: Indicates extreme tension and unpredictable fall direction.
- Sound cavities or hollows: Tap the trunk with a mallet; a hollow drum sound means advanced decay.
- Dead or hung-up branches: Can break free and fall on the operator during cutting.
Step 2: Plan Your Escape Route
Before you start the saw, decide how you will exit. The retreat path should be at a 45-degree angle behind and away from the expected fall line, extending at least twenty feet clear of the stump. Remove brush, vines, or fallen limbs along that path so you can walk it blindfolded if necessary.
Establish a communication protocol if you have helpers. One person talks, one person listens, and the chain saw operator is in charge. Use clear, simple commands: “Stand clear,” “Tree coming,” “All stop.” Nothing more complicated.
Pre-Flight Escape Checklist
- Clear path of trip hazards and loose debris
- Mark escape route with flagging tape for visibility
- Confirm all bystanders are at least two tree lengths away
- Test the route at a brisk walk before starting the saw
Step 3: Cut the Notch
The notch governs directional accuracy. Face the tree so your planned notch points exactly where you want the trunk to land. Make the top cut first, descending at 70 degrees so it intersects the bottom cut one-third of the way through the trunk. The bottom cut should be flat and horizontal. Together they form a 70-degree notch opening toward the drop zone.
Notch depth matters: on trunks up to 18 inches diameter, cut one-third deep; on larger trunks, never exceed two-fifths diameter. Shallow notches cause the hinge to break prematurely; deep notches create a weak hinge that snaps too early and sends the tree astray.
Pro Tip: Snap a chalk line across the trunk before cutting the notch; a straight visual reference prevents the common mistake of a crooked notch that steers the tree off course.
Step 4: Create the Hinge and Back Cut
Move to the backside of the tree for the felling cut. Insert the saw and cut straight toward the notch, stopping when you have an even, intact hinge approximately 10 percent of trunk diameter. Never cut through the hinge; a hinge thinner than your thumb is a hinge about to fail. The hinge thickness controls the speed and direction of the fall.
Insert wedges early—when the saw is three inches into the back cut—to prevent the tree from sitting back and pinching the bar. Plastic wedges work best; steel wedges can damage the chain if struck. Drive wedges evenly as you continue the cut.
Tools You Will Need
- 60 cc or larger rear-handle saw: Provides power and bar length for 20-inch plus trunks.
- Plastic felling wedges: At least two, 8–10 inches long, for preventing bar pinch and guiding fall.
- Chalk line and blue chalk: Creates straight notch reference line.
- Measuring tape: Confirms hinge thickness and notch depth.
Step 5: Retreat and Watch the Drop
As the hinge begins to tear and the tree starts to commit, shut off the saw, set it down, and walk—do not run—down your pre-planned escape route. Keep your eyes on the trunk until it hits the ground; falling trees can kick backward, split, or roll suddenly. Count to three after impact before returning to the stump.
Check the hinge wood. A clean, even break indicates a textbook drop. A jagged or angled hinge suggests the tree shifted mid-fall—review your notch depth and hinge thickness before cutting the next tree.
Common Mistakes to Avoid
- Cutting through the hinge: Eliminates directional control and invites barber-chair splitting.
- Ignoring wind direction: Even a light breeze can redirect a tree once the hinge fails.
- Poor escape route: Tripping over unseen debris has injured more operators than the tree itself.
Timing: When to Fell and When to Wait
Best conditions are calm, cool, and overcast. Cold wood is brittle and slices cleaner; hot wood gums the bar and increases kickback risk. Avoid felling within 24 hours of rain—wet bark is slippery, and saturated soil reduces root anchorage, letting the tree slide rather than tip.
When to Act
Best window: Late fall to early winter on a wind-free morning. Why this timing matters: Leaf-off crowns offer better visibility, the ground is firm, and most wildlife have migrated or are dormant.
Species-Specific Adjustments
Oak and hickory require a slightly thicker hinge—closer to 12 percent of diameter—because their dense fibers resist tearing. Pine and spruce, being softer, release more readilyally at 8–10 percent, but demand extra vigilance for sap buildup on the bar. Birch and aspen commonly grow in clumps; fell the outer trees first to reduce canopy interference on inner stems.
Professional arborists often use plunge cuts in leaning cottonwoods to reduce barber-chair potential. Homeowners should avoid cottonwood felling without advanced training; hire a certified arborist instead.
DIY vs. Professional: Where the Line Is
DIY felling is appropriate for straight, sound trees under 20 inches diameter, located more than two tree lengths from any structure or overhead line. Beyond those parameters, or if decay, lean, or crown asymmetry is present, contact an ISA Board Certified Master Arborist. The average residential claim for tree damage in 2024 was $28,400 according to the Insurance Information Institute—far exceeding the cost of professional removal.
Pro Tip: When interviewing arborists, ask to see their ISA certification number and current insurance certificate. If they deflect or delay, hire someone else.
What to Do Next
Complete a dry run of the five-step plan without starting the saw. Walk the drop zone, rehearse the escape route, and confirm weather conditions. If everything checks out, gear up and proceed methodically. After the tree is down, limb and buck safely, always cutting on the uphill side of the log to prevent rolling. Stack firewood or arrange logs for removal, then inspect your equipment for wear, sap buildup, or loose hardware before storing. Mastery comes from repetition—log each felling session in a notebook with notch dimensions, hinge thickness, and results. Your next tree will fall even more precisely.
