
Tree Roots Through Concrete: A Practical Guide
Learn why tree roots crack concrete, how to assess damage, and proven methods to prevent or repair root-related hardscape failures.
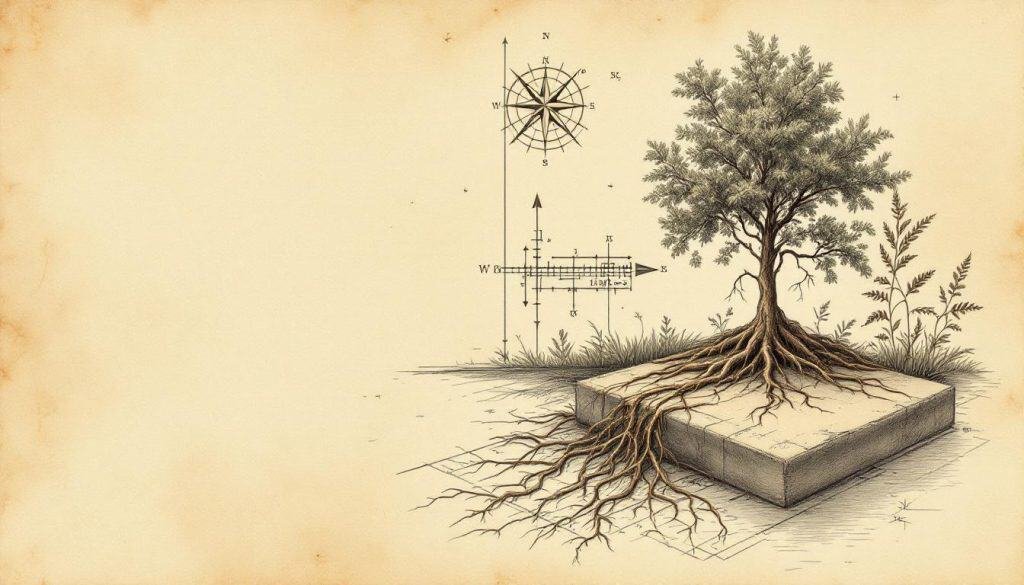
- Tree roots exert up to 200 psi radial pressure, lifting 4,000-psi concrete over 5–15 years.
You notice the sidewalk slab outside your house has lifted an inch, or maybe the driveway sports a fresh crack that widens every month. The culprit might be growing silently underground—tree roots negotiating, then exploiting, the nearest rigid surface. As an ISA Board-Certified Master Arborist who has investigated hundreds of hardscape failures, I can tell you that concrete vs. root conflicts follow predictable patterns. By the end of this guide you will know exactly how roots behave around concrete, how to diagnose early trouble, which removal or barrier tactics work, and when to call in professional help before repair costs snowball.
How Roots Actually Break Concrete
Concrete seems solid, but it is brittle in tension and full of micro-cracks. Fine feeder roots, no thicker than sewing thread, locate these cracks by following moisture vapor that escapes from the concrete/soil interface. Once inside, the root tip enlarges by adding cambial layers; radial pressure can exceed 1,400 kPa (200 psi) at the root’s circumference. Over five to fifteen years the expanding root acts like a slow-motion hydraulic jack, levering the slab upward. Species with aggressive, linear root systems—Acer saccharinum (silver maple), Populus deltoides (cottonwood), and Fraxinus spp. (ash)—can lift 150 mm (6 in.) of 4,000-psi concrete in less than a decade.
Term: Thigmomorphogenesis is the directional growth response of roots to mechanical impedance; roots thicken and redirect when they touch rigid objects such as footings or curb walls.
Moisture cycling accelerates the damage. Winter rain pools beneath the lifted edge, freezes, and expands the crack. The next season the root grows thicker, pushing the slab even higher. The failure cascade is mechanical, hydraulic, and biological all at once.
Early Signs of Root Intrusion
Catch the problem before slabs tilt enough to trip pedestrians. Walk the pavement every spring and look for a gap wider than 3 mm (⅛ in.) between adjoining sections. Hairline cracks that run parallel to the trunk, especially within 2× the canopy radius, often sit directly above a thickening root. Inside garages or basements, vertical cracks that widen from top to bottom usually indicate a root pressing against the outer foundation face.
Warning Signs to Watch For
- Slab displacement ≥ 6 mm (¼ in.): Trip hazard threshold; root likely > 25 mm (1 in.) thick beneath
- Crack stained with dark organic residue: Indicates root cambium rubbing against concrete, accelerating spalling
- Seasonal movement: Gap wider in late summer when root diameter peaks; narrower in early spring
Confirm suspicion with a simple test: spray a light coat of water on the crack. If the water drains rapidly, a root has probably created a continuous channel beneath the slab. Dry zones surrounded by damp concrete suggest the root is lifting the center, creating a micro-bridge.
Assessment Tools and Safety Checks
Before you pick up a saw or hammer, determine what lies within the concrete. Use a rebar locator (Fisher FX-3 or similar) to scan for steel mesh; cutting through tensioned rebar weakens the slab and can void municipal warranties. Mark the root’s suspected path with spray paint, then drill a 6 mm (¼ in.) inspection hole at the crack’s widest point. Insert a 30 cm (12 in.) zip-tie as a flexible probe; if you meet soft resistance and the tie emerges with dark cambial tissue, you have located the root.
Tools You Will Need
- Rebar locator: Avoids cutting structural steel; rent for $35/day
- 4-in-1 screwdriver: Pries small concrete chips to expose root without widening crack
- Root calipers: Measures diameter; roots > 50 mm (2 in.) require arborist evaluation before severing
Photograph everything. Insurance adjusters and certified arborists will want date-stamped images showing the displacement, crack width, and any exposed root tissue.
Root Removal vs. Relocation
Never cut a root greater than 25 mm (1 in.) diameter without first calculating the “3× rule.” Measure the trunk diameter at breast height (DBH) in centimeters; multiply by three. That value, in centimeters, is the minimum distance from the trunk that a root can be safely severed. For a 40 cm DBH red oak, stay at least 120 cm (4 ft) away. Inside that zone, removal risks crown dieback or whole-tree instability.
| Cut Method | Barrier Method |
|---|---|
| Fast, cheap, immediate slab drop | Preserves tree, long-term protection |
| Risk of decay fungi entering cut surface | Requires excavation 18 in. deep, $8–$12/linear ft |
If the root must be cut, use a sharp, sterilized pruning saw; make a clean perpendicular cut to minimize tearing. Immediately paint the wound with a bituminous pruning sealer if the species is prone to oak wilt or Dutch elm disease. For a permanent fix, install a geotextile-lined, high-density polyethylene (HDPE) root barrier 0.75 mm (30 mil) thick, angled 15° away from the slab to deflect future roots downward.
When to Call a Certified Arborist
Contact a Master Arborist when any of the following apply: the suspect root exceeds 50 mm (2 in.) diameter within the 3× zone; the tree leans toward the damaged concrete; or the crown shows recent dieback exceeding 15% of branch volume. An arborist can perform an Air-Spade excavation to expose roots without mechanical injury, then perform a root-collar inspection for decay.
Pro Tip: Request a written report that includes ANSI A300 pruning standards and a post-work stability assessment; municipalities often require this document if you later apply for tree removal.
Additional red flags: roots entering sanitary sewer lateral, lifting gas line risers, or undermining a retaining wall higher than 1 m (3 ft). These scenarios involve liability beyond simple concrete replacement.
Seasonal Timing and Soil Factors
Perform root pruning during the tree’s dormant season—after leaf drop in deciduous species and before bud swell the following spring. Dormancy minimizes carbohydrate loss and reduces transpirational stress. Avoid mid-summer cuts when vascular wilt fungi are most active and root regeneration is slowest.
When to Act
Best window: January–March for temperate zones. Frozen upper 2 in. of soil prevents heavy equipment from compacting remaining roots, and lowered sap flow reduces bleeding from cut surfaces.
Soil texture matters. Clayey soils transmit lifting force more efficiently than sandy loam; a 38 mm (1½ in.) root in stiff clay can exert 30% more upward pressure than the same root in sand. If your site has expansive clay, plan on a deeper barrier—minimum 45 cm (18 in.)—to intercept descending structural roots.
Concrete Repair After Root Removal
Once the offending root segment is removed or redirected, allow the sub-grade to settle for 30 days before placing new concrete. Compact remaining soil in 15 cm (6 in.) lifts with a plate compactor; failing to reconsolidate leads to fresh settlement cracks within a year. Use 4,000-psi concrete with 6% air entrainment for freeze-thaw climates, and insert #4 rebar pinned to the adjacent slab with epoxy anchors to tie the repair into existing pavement.
Common Mistakes to Avoid
- Immediate repour: Soil continues to collapse into the void left by the root; wait 30 days
- Ignoring vapor barrier: Without 6-mil polyethylene, moisture wicks up and invites the next root
If aesthetics matter, score a decorative joint directly above the new barrier location; the saw-cut disguises any future differential movement and provides a controlled crack line.
Preventive Strategies for New Plantings
Select appropriate species. For parking strips narrower than 3 m (10 ft), choose small-stature trees such as Carpinus caroliniana (American hornbeam) or Amelanchier spp. (serviceberry) whose mature roots remain < 25 mm diameter. Plant at least 1.5 m (5 ft) from any hardscape edge, and install a linear root barrier parallel to the concrete, extending from the trunk to the pavement edge.
New Planting Checklist
- Excavate planting pit 2× root-ball width, not deeper
- Position barrier 8–10 in. from hardscape, angled 15° outward
- Backfill with native soil—no gravel layer myth
- Stake only 1 year; remove to encourage root anchorage
Mulch 75 mm (3 in.) deep over the planting area, keeping mulch 15 cm (6 in.) away from the trunk flare. Consistent moisture during the first three summers encourages deep rooting, reducing the chance that later feeder roots quest upward into concrete cracks.
What to Do Next
Start with a five-minute walk-around of your property this weekend. Photograph any cracks, measure slab displacement with a ruler, and note the species and distance of nearby trees. If cracks exceed 6 mm or roots appear thicker than your thumb within one canopy radius of the concrete, schedule an Air-Spade consultation with a local ISA-certified arborist. Bring the photos; they speed diagnosis and may save you the cost of exploratory excavation. Acting early—before roots thicken and concrete displaces further—can halve your total repair bill and keep both your tree and your sidewalk stable for decades.
