
The Ultimate Guide to Barber Chair Notch Errors
Master the Georgia Extension five-step tree felling method to drop trees safely, avoid kickback, and prevent common felling accidents.
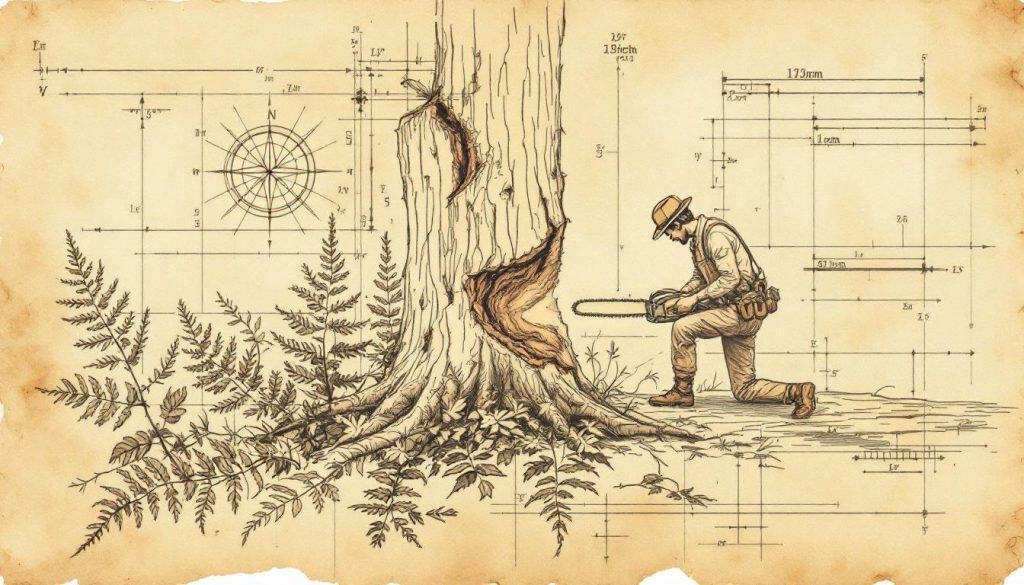
- The five-step plan creates a controlled hinge that steers tree fall direction. Measure tree height and lean before touching the saw to eliminate guesswork. Escape route must run 45 degrees back from fall direction, marked and cleared. Hinge thickness equals 10% of trunk diameter—this specific measurement prevents accidents. Call professionals for trees over 28" diameter, power lines, or structural targets.
You stood in your yard this morning, coffee cooling in your hand, staring at the leaning pine that keeps dropping branches on your roof. The neighbor swears he can drop it for a case of beer, but you have seen the insurance photos of what can go wrong when a tree falls the wrong way. This guide walks through the University of Georgia Extension five-step tree felling plan—field-tested safety protocol used by arborists like myself to bring down trees cleanly and without injury.
By the time you finish reading, you will know how to size up the tree, choose the right escape route, and recognize exactly when href=”https://treecarelabs.com/resources/trees/trunk/tree-felling-hinge-cut-basics”>to step back and call a professional. I am Michael Hartman, ISA Board Certified Master Arborist TX-0198B, and I have taught this method to hundreds of homeowners across Texas pine country. The stakes are real—chainsaw accidents hospitalize 36,000 Americans yearly—but proper planning prevents nearly all of them.
Why the Five-Step Plan Works Every Time
Trees fail along predictable planes once you understand wood fiber orientation. The five-step plan exploits these natural mechanics rather than fighting them. A tree’s hinge—the section of uncut wood on the back side of the notch—controls the fall direction by acting as a living lever. When you maintain a hinge thickness equal to 10% of trunk diameter, the tree rotates exactly where you intend instead of twisting or kicking back.
The plan also accounts for the most dangerous moment in felling: when the tree commits to falling but has not yet separated from the stump. This transition takes 1.5-2.5 seconds for a 50-foot pine. That brief window is when barber chair splits, stump jumps, and widow-maker branches cause injuries. The five-step method builds your escape route during planning, so you are already moving before the tree starts its final drop.
Hinge wood: The 1-2 inch section of uncut trunk between your notch cut and back cut that acts as a steering mechanism for the tree’s fall direction.
Understanding tree lean is critical. Even a 5-degree lean toward your house creates 400-800 pounds of lateral force once the tree begins falling. The plan forces you to measure this lean accurately before touching the saw, eliminating guesswork that leads to property damage.
Step One: Measure the Tree, Lean, and Hazards
Start by walking a complete 360-degree circle around the tree at a distance equal to its height. Look for target zones—anything within a 1.5× tree-height radius that could be damaged. Measure actual height using the stick method: hold a stick at arm’s length, align the top with the tree crown and bottom with base, then rotate the stick horizontally. The point where the stick tip touches ground marks the tree’s height.
Check lean by sighting along the trunk from two perpendicular directions. Use a plumb bob or phone app to quantify the lean angle. Trees leaning more than 15 degrees require step cuts or mechanical assistance. Identify hazards: dead branches (widow-makers), vines that could pull neighboring trees, and electrical lines.
Warning Signs to Watch For
- Dead top: Bare branches in the upper crown indicate internal decay that can drop without warning
- Lean with soil heaving: Cracked or raised soil on the opposite side signals imminent uprooting
- Multiple trunks: Included bark between stems creates weak unions that split unpredictably
Finally, evaluate the stump. A hollow base or fungal conks means the tree may collapse vertically rather than fall outward. These trees require professional removal using ropes and mechanical advantage.
Step Two: Choose and Inspect Your Equipment
Your chainsaw must have at least 2 inches of bar length longer than the tree’s diameter. For a 24-inch diameter oak, use a 28-inch bar minimum to avoid plunge cuts. Check chain sharpness by shaving your thumbnail—sharp cutters will slice paper-thin shavings. Dull chains cause 60% of kickback injuries.
Tools You Will Need
- CERTIFIED chainsaw helmet: ANSI Z89.1 rated with face shield and ear protection
- Kevlar chaps: ASTM F1897 standard, must extend from waist to boot top
- Steel-toe boots: ASTM F2413 with aggressive lug soles for muddy conditions
- Wedges: Plastic felling wedges, 3-5 inches longer than tree diameter
- Escape route marker: Bright survey tape to mark your retreat path
Fill your saw with fresh 89-octane gasoline mixed 50:1 with two-stroke oil. Old gas causes half-throttle operation that increases kickback risk. Carry a spare chain and file kit—hitting dirt dulls cutters instantly.
Step Three: Plan and Clear the Escape Route
Your escape route runs at a 45-degree angle backward from the intended fall direction. Mark it with bright tape from the tree base to at least 20 feet beyond stump height. Clear all brush, rocks, and trip hazards along this path.
The retreat sequence matters: when the tree commits to falling, you take three steps back at full throttle, then turn and walk quickly along your marked route. Never run—trips cause more injuries than trees. Practice this retreat without cutting first; muscle memory saves lives.
Pre-Felling Route Check
- Remove all loose branches and debris along the 45-degree escape angle
- Check for holes or uneven ground that could trip you during retreat
- Confirm at least 20 feet of clear space behind the tree
- Mark the route with bright tape or cones
Position your truck and spectators at least twice the tree height away, at a 90-degree angle to the fall direction. Flying debris travels farther than most people expect.
Step Four: Cut the Notch and Hinge Correctly
The notch faces exactly where the tree should fall. Make the top cut first at a 70-degree downward angle, going one-third into the trunk. The bottom cut meets the top cut squarely, creating a perfect 90-degree notch opening. Both cuts must intersect cleanly—any step or overlap weakens the hinge.
The hinge thickness equals exactly 10% of trunk diameter. On a 20-inch tree, maintain a 2-inch hinge. Mark this thickness with chalk or a stick before making your back cut. The back cut is horizontal, 1-2 inches above the bottom notch cut. Stop cutting when you reach the hinge mark, leaving the holding wood intact.
Pro Tip: Drive a felling wedge into the back cut as soon as the saw bar is fully inserted. This prevents the tree from sitting back on your saw and gives you instant control over fall direction.
Watch the tree for signs it is committing: widening of the notch opening, cracks forming in the hinge, or slight movement. These signals give you 1-2 seconds to shut off the saw and begin retreat.
Step Five: Retreat and Let the Tree Fall Safely
Once the tree starts moving, do not second-guess. Shut off the throttle, pull the saw free, and take your three practiced steps back. Do not turn to look until you have completed the retreat—trees can kick back or change direction unexpectedly.
Listen for the crack of the hinge breaking, then the rustle of branches as the crown falls. Count to five after impact before approaching. This prevents injury from falling debris that continues after the main trunk hits ground.
Common Mistakes to Avoid
- Cutting too deep: Back cut past the notch eliminates the hinge, causing uncontrolled fall
- Standing uphill: Tree can roll toward you after hitting ground
- Removing wedges too early: Premature wedge removal allows tree to sit back on the saw
If the tree hangs up in neighboring trees—called a widow-maker—do not attempt to free it. Professional arborists use ropes and rigging to safely extract hung trees. This is where most homeowner injuries occur.
When to Call a Professional Arborist
Call for professional help when any of these conditions exist: tree leans toward structures or power lines, trunk diameter exceeds your bar length by more than 4 inches, any sign of internal decay or hollow trunk, or when the tree has multiple trunks or significant lean. Professional removal costs $800-2,000 but prevents the $50,000+ damage from a tree falling on your house.
When to Act
Best window: late fall through winter dormancy. Bare branches allow clear sight lines, frozen soil prevents root damage to nearby trees, and reduced sap flow makes cutting cleaner. Avoid spring when birds nest and summer when leaves add weight and wind resistance.
Certified arborists carry $2 million liability insurance and use techniques like directional felling with ropes, bucket trucks, and cranes. The cost includes cleanup and disposal, which most homeowners underestimate.
Regional Variations: Pine vs Hardwood Felling
Pine trees in the Southeast require different notch angles due to their flexible wood. Use a 60-degree top cut instead of 70 degrees to prevent fiber pull that can cause the tree to twist mid-fall. Hardwoods like oak and hickory need the full 70-degree cut but may require step cuts for trees over 28 inches diameter.
Western conifers often have extreme lean due to prevailing winds. These trees need cable support or mechanical felling devices. Never attempt to fell a wind-thrown tree—root plates can spring back with deadly force.
In coastal regions, salt damage creates dead tops that can fall independently of the main trunk. Always remove dead tops with pole saws before felling the main tree.
What to Do After the Tree Hits the Ground
Once the tree is down, your work has just begun. Start by checking the stump for your hinge thickness—if it is thinner than 10%, you cut too deep and got lucky. This measurement will improve your next attempt. Next, walk the trunk to identify widow-makers—hung branches that could fall during bucking.
Bucking the trunk into rounds requires the same safety protocol as felling. Start at the top and work down, never cutting above shoulder height. Use wedges to prevent pinching your saw. Stack rounds immediately to prevent trip hazards.
Finally, grind the stump or treat it with herbicide to prevent sprouting. A 24-inch stump will sprout 30-50 shoots within six months without treatment. Professional stump grinding costs $150-400 but eliminates tripping hazards and mower damage.
The chainsaw will need thorough cleaning after this work. Remove the bar and chain, clean all oil ports, and file any damaged cutters. Your next tree—and there will be a next tree—deserves a properly maintained saw.
