
Root Barriers vs Hardscape Redesign: Explained
Learn why tree roots lift sidewalks, how to diagnose the risk, and which root-barrier or pruning tactics stop concrete damage before it starts.
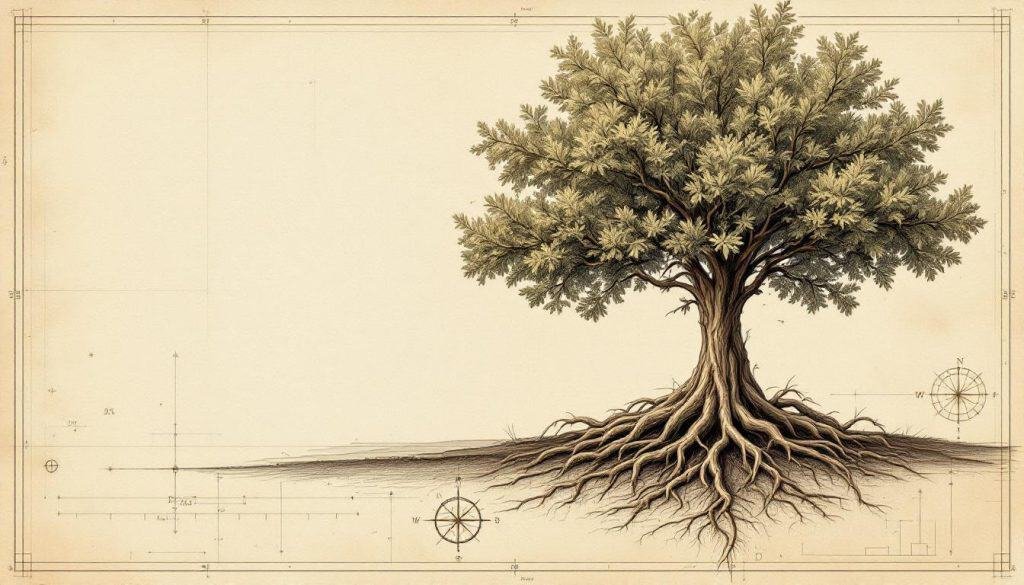
- Tree roots lift sidewalks by expanding ½–1 inch yearly, exerting 300 psi on concrete. Most damaging roots sit within 18 inches of soil surface and 3 feet of trunk. Cutting roots closer than 3× trunk diameter risks decay and tree failure. Install 18-inch HDPE barriers 6 inches from walk during dormant season for best deflection. For roots >2 inches near foundations, hire an ISA Master Arborist with air-spade gear.
You have a 12-foot live oak 6 feet from the walk and the slab is now a trip hazard—one corner is 2¼ inches higher than the next panel and the city just tagged it. You need the lifting to stop, the concrete fixed, and the tree to stay alive. By the end of this guide you will know exactly why the roots are lifting the walk, which roots can be safely cut or redirected, what barriers work, and when to bring in an ISA-certified arborist like Michael Hartman, TX-0198B.
Why Roots Lift Concrete—The Biological Reality
Tree roots grow where oxygen, moisture, and soil density allow. Under a sidewalk the soil is usually compacted to 95 % Proctor density, so the first 6–8 inches of soil just beneath the pavement offers the best combination of oxygen and href=”https://treecarelabs.com/resources/trees/root/can-tree-roots-grow-through-concrete”>” target=”_blank”>moisture. As flare and lateral roots increase in diameter—commonly ½–1 inch per year on a young live oak or silver maple—they act like slowly expanding hydraulic jacks. A root only needs to generate 145 psi to fracture 3,000-psi concrete; a 2-inch diameter root can exert over 300 psi at its cambial surface. University of Florida research shows that 85 % of problematic roots are within 18 inches of the soil surface and typically originate within 3 feet of the trunk flare.
Root flare: The area where trunk tissue transitions to root tissue, normally visible at grade and wider than the trunk above it.
Once a root wedges under a slab, seasonal moisture changes cause the root to shrink and swell, pumping the slab upward ⅛–¼ inch per cycle. After ten cycles the plate shears at the joint and you have a permanent lip.
Diagnose Before You Cut—Identifying the Culprit Roots
Start by measuring exactly how far the offending root is from the trunk. Use a flexible tape and follow the root path by probing with a ¼-inch steel rod every 6 inches. Mark the root on the surface with spray paint. Photograph the slab lift, include a 4-foot level for scale, and note cardinal orientation—roots on the south and west side lift more because of higher soil temperature amplitude.
Warning Signs to Watch For
- Vertical displacement ≥ ½ inch: Trip hazard threshold in most municipal codes
- Root diameter within 1 foot of trunk: Indicates high risk of decay if cut
- Multiple fine cracks parallel to walk: Root is directly beneath and expanding
- Opposite side of tree shows soil depression: Tree is levering against its own root system
Next, determine whether the root is a primary lateral (emerges directly from the flare) or a secondary sinker. Cutting a primary lateral closer than 3× the trunk diameter risks creating a decay column that can enter the trunk and destabilize the tree.
Root Barriers That Actually Work
Barriers work only if they are installed before the problem root reaches the hardscape. UF tests show rigid HDPE panels 0.125 inch thick and 18 inches tall deflect 70 % of roots downward when placed 6 inches away from the walk edge. Panels must extend 2 inches above final soil grade so roots cannot grow over the top. Flexible rubber or geotextile sheets fail within five years—roots penetrate the fabric or lift the edge.
Installing an HDPE Root Barrier
- Trench 12 inches wide and 20 inches deep along the walk
- Seat panel 2 inches below trench bottom for stability
- Overlap panels 6 inches; rivet every 4 inches
- Backfill with ¾-inch crushed limestone to 4 inches below grade
- Install top edge restraint (steel edging) to prevent frost heave
Even the best barrier is useless in poorly drained soil; roots simply grow under the panel and up the other side. Install a perforated 4-inch drainpipe at the base of the trench if winter water tables rise within 24 inches of grade.
Pro Tip: On new plantings, create a 5-foot “no-root zone” beside drives and walks by augering four 6-inch holes 30 inches deep and filling them with coarse gravel; roots detour around the dry column.
Root Pruning Without Killing the Tree
When the walk is already lifted, you must choose between saving the root and replacing the concrete. If the root is farther than 3× trunk diameter (e.g., 18 inches away on a 6-inch dbh tree) and < 2 inches thick, you can remove it with minimal risk. Use a sharp, bypass lopper for roots < 1 inch; for larger roots make a clean chainsaw cut perpendicular to the root axis. Do NOT rip or pry—torn bark creates a longitudinal crack that invites decay.
Tools You Will Need
- Air-spade (150 cfm): Excavates soil without cutting feeder roots
- Pruning chainsaw with 12-inch bar: Clean, fast cut reduces tearing
- Root barrier panel: 18-inch HDPE, 0.125 inch thick
- Asphalt-based pruning sealer: Optional on roots > 3 inches to slow desiccation
After cutting, immediately install a barrier on the street side of the remaining root so the regrowth does not simply repeat the lift in five years. Water the tree weekly for the next two growing seasons—removing a major root can reduce drought tolerance by 20 %.
Concrete Solutions That Accommodate Roots
Sometimes the cheapest long-term fix is to alter the pavement instead of the root. Options ranked by cost per square foot (2024 Dallas market):
| Method | Cost ($/ft²) | Expected Life |
|---|---|---|
| Flexible rubber paver | $8.50 | 15 years |
| Reinforced concrete with control joints | $12.00 | 20 years |
| Suspended sidewalk on helical piers | $28.00 | 50 years |
Rubber pavers 1.75 inches thick compress ⅛ inch under load, absorbing root expansion without fracturing. For heavier traffic, specify 6-inch concrete with #4 rebar top and bottom mats, plus 2-foot centers of zip-strip joints oriented parallel to the tree so the slab lifts as a single unit rather than shearing.
Timing—When to Act and When to Wait
Root pruning and barrier installation should be done during the dormant season after the hardest freeze but before bud swell—typically mid-January to mid-February in USDA zones 8a–9a. Dormant trees compartmentalize wounds faster; spring sap flow reduces carbohydrate reserves needed for defense. Emergency removals (e.g., root lifting a gas line) can be done any time, but expect 30 % more dieback and water the tree aggressively the following summer.
When to Act
Best window: January 15 – February 15. Roots are least active and wound response is strongest. Avoid October–November when fungal spore load peaks.
If the sidewalk lift is < ½ inch, monitor for one year; many minor lifts stabilize after the initial root expansion. Photograph and measure quarterly to document change.
Species-Specific Realities
Some species are repeat offenders; others rarely lift walks. In central Texas surveys, live oak caused 38 % of sidewalk claims, hackberry 21 %, and pecan 12 %. Conversely, cedar elm and bur oak together accounted for < 4 % even though they represent 18 % of the planting stock. The difference is rooting depth: live oak produces aggressive surface laterals within 6 inches of grade, while bur oak sinkers typically descend below 18 inches before turning horizontal.
Common Mistakes to Avoid
- Installing barrier after roots are > 1 inch thick: Barrier simply redirects smaller sinkers that will enlarge and lift again
- Using weed-barrier fabric as root barrier: Roots grow through within two seasons
- Cutting all roots on one side: Creates hazard tree—can fall toward the weakened root plate
When replacing a problem tree, choose a species whose mature trunk flare will sit at least 8 feet from any hardscape, or select a deep-rooted taxon such as Mexican white oak or Chinese pistache.
DIY vs. Professional Intervention
You can safely handle roots 2 inches on street trees; fines start at $500 per root in Austin. If utility lines lie within 2 feet of the root, call 811 and have the arborist hydro-excavate to avoid nicking a gas main.
Expect to pay $45–$65 per linear foot for professional barrier installation and $150–$300 per root for supervised pruning that includes three-year warranty against new lifting. Compare that to $4,000–$6,000 for a full sidewalk replacement and the arborist bill is cheap insurance.
What to Do Next
Walk your property this weekend with a 4-foot level and tape measure; document every vertical edge > ½ inch. Map the roots, measure diameters, and mark distances from the trunk. If any root is > 2 inches and within 18 inches of the trunk, call a certified arborist for an air-spade inspection. For smaller, outlier roots, install an 18-inch HDPE barrier this winter and replace the lifted panels with rubberized pavers. Take photos annually in July; if displacement increases more than ¼ inch in three years, escalate to a suspended sidewalk design. Acting now prevents the $10,000 surprise of a full concrete removal and keeps both your tree and your liability coverage intact.
