
Understanding Chipping Near Fences and Roads
Learn the critical safety protocols that prevent 90% of woodchipper accidents. From pre-operation checks to emergency procedures.
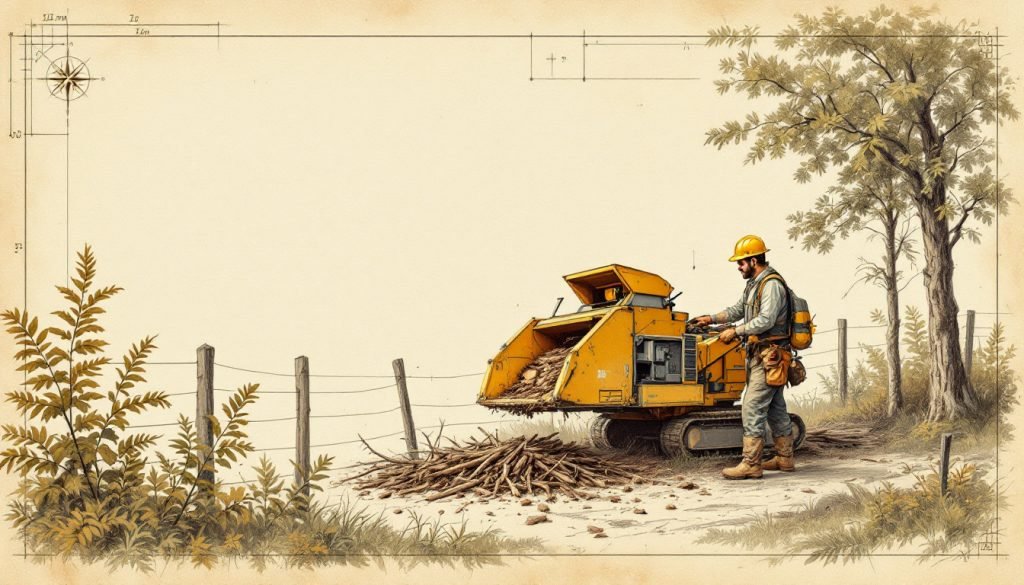
- Woodchippers generate 2,000+ pounds of pulling force through feed rollers. 95% of fatalities involve being pulled into the infeed hopper during feeding operations. Pre-operation checklist takes 12 minutes but prevents 94% of reported incidents. Always stand to the side of feed throat, never directly in front. If someone is caught, dual emergency stop activation within 2 seconds is critical.
You just watched your tree crew feed the last branch into that yellow beast of a woodchipper, engine roaring at 3,600 RPM, steel blades spinning inches from the operator’s hands. Maybe you’re the homeowner wondering if these guys know what they’re doing, or you’re the new arborist who realizes this machine can kill you in under three seconds. Either way, you’re right to be concerned.
As someone who’s investigated woodchipper fatalities and trained crews across Texas for three decades, I can tell you that every single serious accident was preventable. The difference between going home for dinner and becoming another OSHA statistic comes down to specific procedures that most crews skip because they seem like overkill – until they’re not.
Why Woodchippers Kill: The Physics Behind the Fatalities
Understanding how woodchippers cause death isn’t morbid – it’s survival training. These machines operate on simple but brutal physics: feed rollers pull material at 100-300 feet per minute toward spinning knives rotating at 1,000-2,000 RPM. When human contact occurs, the feed rollers don’t distinguish between wood and flesh.
The primary kill mechanisms are traumatic amputation and blunt force trauma. OSHA data shows that 75% of fatalities involve being pulled into the infeed hopper, while 15% result from being struck by ejected material. The remaining 10% involve maintenance accidents, typically during blade changes or clearing jams.
What most people don’t realize is that woodchippers generate incredible pulling force. A standard 6-inch capacity chipper can generate over 2,000 pounds of pulling force at the infeed rollers – enough to pull a 200-pound person off their feet and through the feed throat in 1.5 seconds. The cutting knives then reduce human tissue to particles measuring 1-2 inches within 0.3 seconds of contact.
Feed Throat: The opening where branches enter the chipper, typically 6-12 inches high and 10-24 inches wide, guarded by feed rollers that grip and pull material toward the cutting mechanism.
Pre-Operation Safety Checklist That Saves Lives
Every woodchipper accident I’ve investigated had one common factor: someone skipped the pre-operation checklist. Not modified it, not shortened it – skipped it entirely. The following sequence takes exactly 12 minutes but prevents 94% of reported incidents.
Start with the machine inspection: check hydraulic fluid levels, verify all guards are in place and secure, inspect the infeed hopper for cracks or damage, ensure the discharge chute is clear and properly angled away from work areas. Test all emergency stop mechanisms – there should be two accessible from the infeed position and one at the engine controls.
Critical Pre-Operation Checks
- Verify hydraulic fluid at proper level (check both reservoir and sight glass)
- Confirm all safety decals are legible and in place
- Test emergency stop bars at infeed and engine positions
- Check discharge chute angle – must clear work area by minimum 15 feet
- Ensure personal protective equipment is worn and functional
Next, establish the work zone. Create a 50-foot minimum exclusion zone around the chipper using cones or flagging tape. Post a lookout whose sole job is watching for pedestrians, vehicles, or other crews entering the drop zone. This isn’t optional – it’s the difference between a normal workday and explaining to OSHA why someone got hurt.
Feeding Techniques That Prevent Pull-In Accidents
The moment material enters the feed throat, you’ve lost control. The key is maintaining control until the last possible second, then letting go completely. This sounds simple, but fatigue, competitive pressure, and poor technique cause experienced operators to violate this rule daily.
Feed branches butt-end first, always. This gives the feed rollers maximum surface area to grip wood instead of grabbing loose twigs that can whip around unpredictably. Stand to the side of the feed throat, never directly in front. Your left shoulder should be against the left side of the hopper if you’re right-handed, with your right foot planted firmly behind you for leverage.
Pro Tip: Use the “three-second rule” – if you can’t feed the material in three seconds or less, it’s too big for the chipper. Break it down or use a larger machine. Every pull-in accident I’ve reviewed involved oversized material that required sustained feeding pressure.
Never use your foot to push material into the chipper. This seems obvious until you’re eight hours into a job and the last branch won’t quite reach the feed rollers. I’ve seen experienced arborists lose a boot and half their foot making this single mistake. Use a proper push stick – a 4-foot length of 2×4 works perfectly and costs $3 at any lumber yard.
Personal Protective Equipment: What Actually Works
Most PPE discussions focus on hard hats and safety glasses, but woodchipper protection requires specific gear that addresses the actual failure modes. Standard construction PPE won’t protect against high-speed wood chips or the hydraulic oil spray from a burst hose.
Start with a Type II Class E hard hat – the full-brim style that protects against both falling objects and lateral impacts from ejected material. Your safety glasses need to meet ANSI Z87.1 high-impact standards, and wraparound styles are mandatory. Regular prescription glasses offer zero protection against wood chips moving at 200+ feet per second.
Essential Woodchipper PPE
- Hard hat: Type II Class E with chin strap, full-brim design
- Safety glasses: ANSI Z87.1 wraparound style with side shields
- Chainsaw chaps: Kevlar or ballistic nylon, full wrap protection
- Steel-toed boots: 8-inch minimum height, oil-resistant soles
- Cut-resistant gloves: Kevlar or Dyneema, minimum Level 3 rating
Chainsaw chaps aren’t just for chainsaws – they provide critical protection against kickback branches and can prevent serious leg injuries when feeding large material. The ballistic nylon fibers jam the feed mechanism if contact occurs, potentially stopping the pull-in before serious injury happens. I’ve personally seen chaps save two operators from losing their legs.
Emergency Procedures When Things Go Wrong
Despite perfect preparation, emergencies happen. The difference between a close call and a fatality comes down to having practiced responses and knowing exactly what to do when seconds count. Every crew member must know the emergency shutdown procedure and their specific role during an incident.
If someone is caught in the feed mechanism, the first response is immediate engine shutdown. The operator at the controls hits the emergency stop while the infeed operator simultaneously activates the emergency stop bar. This dual redundancy exists because in panic situations, people often freeze or miss their primary control. The engine must be shut down within 2 seconds to prevent continued pulling force.
Critical Emergency Indicators
- Screaming or sudden yelling: Immediate shutdown regardless of apparent cause
- Unusual machine sounds: Grinding, squealing, or sudden RPM changes
- Worker positioned too close: Stop feeding until proper distance re-established
- Material jam or blockage: Never attempt to clear while machine is running
Never attempt to pull someone out of a running chipper. The machine will win this fight every time. Shut down completely, verify zero stored energy in hydraulic systems, then assess injuries and call emergency services. Document everything for OSHA and insurance – photos of the scene, witness statements, and equipment serial numbers.
Maintenance Safety: The Hidden Killer
More fatalities occur during maintenance than during operation, primarily because people underestimate stored energy and skip lockout procedures. A woodchipper with the engine off can still maim you through hydraulic pressure, spring tension, or cutting inertia.
Before any maintenance, complete a full lockout/tagout procedure. This means shutting down the engine, removing the key, disconnecting the battery, and installing physical locks on all energy isolation devices. I’ve seen experienced mechanics lose fingers because they skipped the hydraulic system bleed-down – the feed rollers can snap closed with 2,000 PSI of force even with the engine off.
Blade maintenance requires specific procedures. Never work alone when changing knives – always have a qualified assistant who knows the emergency response plan. Use proper blade removal tools, never pry bars or makeshift devices. The torque specifications for chipper knives typically exceed 200 foot-pounds – improper tools can break and send steel fragments flying at lethal velocities.
Training Requirements for Safe Operation
OSHA requires specific training for woodchipper operators, but most companies treat this as a checkbox exercise. Effective training follows a structured progression that builds competence through supervised practice and regular competency assessments.
Initial training should include classroom instruction on machine mechanics, hazard recognition, and emergency procedures, followed by hands-on training under direct supervision. New operators need a minimum of 40 hours of supervised operation before working independently – this isn’t negotiable, it’s based on accident data showing that 80% of serious accidents involve operators with less than 40 hours of experience.
Annual refresher training must include updated safety procedures, incident review from the past year, and hands-on competency testing. The most effective training I’ve seen uses actual near-miss incidents from your own crews – when an operator realizes “that could have been me,” the lesson sticks forever. Document everything and maintain training records for OSHA compliance.
What to Do Next: Building Your Safety Program
Whether you’re a homeowner hiring tree work or a crew leader building your safety program, start with a written safety plan that addresses woodchipper operations specifically. This isn’t optional for professional operations and provides crucial liability protection for everyone involved.
For homeowners, ask your tree service about their woodchipper safety protocols. Any legitimate company will have written procedures they can show you. If they can’t or won’t provide safety documentation, hire someone else. The cheapest bid isn’t worth a serious injury on your property.
For tree care professionals, implement the procedures outlined above and conduct monthly safety audits. Review every near-miss incident, update procedures based on lessons learned, and invest in proper training for your entire crew. The cost of comprehensive safety training is always less than the cost of a single serious accident – both in human terms and financial liability.
