
When Tritucap Beats Mulcher: Demystified
Slash mats protect soil and roots during tree work. Learn when to deploy them, how to build and remove them, and why they prevent costly site damage.
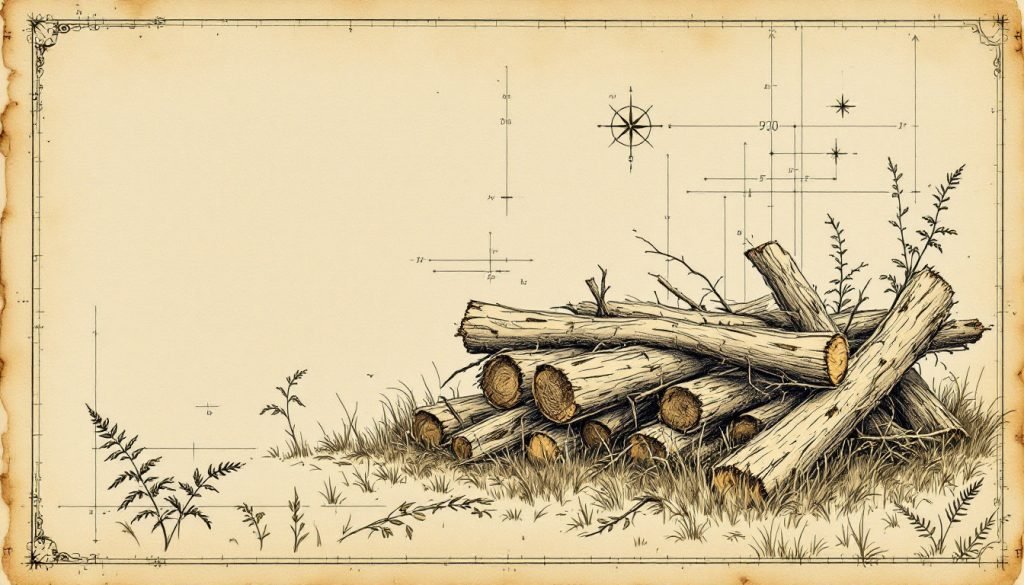
- Slash mats are free, on-site limb layers that cut soil pressure from 30 psi to under 8 psi. Deploy them whenever equipment crosses the dripline or on slopes steeper than 3:1. Build 12–15 inches thick in alternating layers, compacted and staked on slopes. Remove mats layer-by-layer, rake compacted soil, and restore grade to prevent water pooling. When ground pressure exceeds 15 psi or loads top 90 tons, switch to commercial composite pads.
You finished a big pruning job or took down a hazardous pine, but now the yard looks like a logging deck: tire ruts, compacted turf, and exposed feeder roots. The client is furious and the site looks like a construction zone. Enter slash mats—simple, low-cost layers of brush and logs that keep equipment weight off soil and root zones. In this guide, Michael J. Hartman, ISA Board Certified Master Arborist, breaks down exactly what slash mats are, when you need them, how to build and remove them, and how they save both the tree and your reputation.
What Slash Mats Actually Are—and What They Are Not
Slash mats are temporary ground-cover structures built directly from the limbs, tops, and small-diameter stems generated during tree work. They are not plywood road mats, rubber crane pad, or manufactured composite panels. Instead, they are on-site, biodegradable assemblies that spread wheel loads over a larger footprint, preventing rutting and compaction.
Slash mat: A layered stack of tree limbs and small stems laid perpendicular to traffic direction to bridge and cushion soils beneath heavy equipment.
The technique originated in wildland harvesting where loggers needed to skid timber across sensitive soils without causing erosion. Arborists adopted the practice to protect urban lawns, park turf, and critical root zones during crane-assisted removals or when using mini-skid steers for stump grinding.
Pro Tip: Aim for a minimum 12-inch compacted thickness. Anything thinner simply follows the contour of the ground and fails to carry load.
The Biological and Mechanical Why: Soil Compaction and Root Damage
Tree roots need pore space to breathe and absorb water. A single pass of a 9,000-lb mini-excavator delivers ground pressure around 30 psi—enough to collapse 40–60 % of macropores in clay loam. Compaction extends horizontally two to three times the tire width and vertically up to 18 inches. Feeder roots within this zone essentially suffocate, leading to canopy thinning and secondary pest problems within one to two growing seasons.
Slash mats reduce point loads by distributing weight across a broader contact patch. A well-built mat drops ground pressure to 5–8 psi, well below the 15 psi threshold where significant pore collapse begins in most soils. Because the mat material is organic, it also cushions impact and prevents shearing of surface roots that occur when tires spin or steel tracks skid.
When and Where to Deploy Slash Mats
Use slash mats anytime equipment must cross or park on soil within the dripline or on slopes greater than 3:1. That includes crane outriggers, chipper positioning, and skid-steer travel paths. On sandy soils or dormant turf, you can sometimes get away with lighter mats, but on clay loams or saturated ground, go full thickness every time.
Warning Signs to Watch For
- Visible tire ruts: Any depression deeper than 1 inch means you waited too long.
- Water pooling: Indicates soil compaction already reducing infiltration.
- Surface root shearing: Exposed, torn roots larger than ½ inch diameter spell trouble ahead.
Urban sites present additional constraints: overhead utilities limit crane reach, forcing equipment closer to trunks; irrigation lines lie just below the sod; and municipal codes may require immediate restoration. Slash mats let you work without cutting swaths through sprinkler zones or tearing up newly laid sod.
Materials and Tools You Need
The beauty of slash mats is that you already own the raw material. Focus on pieces 3–6 inches in diameter and 4–8 feet long. Avoid heart-rotted logs that will shatter under load. You will need a few simple tools to make assembly quick and safe.
Tools You Will Need
- Chainsaw: 16–20 inch bar for bucking limbs to length.
- Limbing axe or hatchet: Remove branch stubs that can puncture tires or hoses.
- Strapping or rope: Polyester straps rated 2,000 lb for lashing layers together.
- Steel T-posts or wooden stakes: Pin mats in place on slopes or wet ground.
For large crane mats, keep a handful of 2×4 hardwood stakes handy. Drive them through the mat perimeter to prevent lateral creep when the crane slews. In tight urban lots, a cordless impact driver and 6-inch timber screws let you pin layers without the noise of pounding stakes.
Step-by-Step Construction Process
Build the mat before the crane truck or chipper arrives. The principle is simple: create a beam bridge using alternating layers, but execution details matter.
Build the Perfect Slash Mat
- Stage limbs parallel to traffic direction as foundation layer.
- Add second layer perpendicular, staggering joints like brickwork.
- Repeat until 12–15 inches thick, compacted underfoot.
- Check for voids under the mat—fill any gaps with smaller slash.
- Drive stakes or straps every 4 feet on slopes.
Start by laying the largest, straightest limbs as your base. Orient them parallel to the direction of travel. Cross the second layer at 90 degrees, offsetting joints so no seam runs the full length. This creates an interlocked mat that resists bending and shear. Tamp each layer with the loader bucket or by jumping on it; compacted slash carries far more load than loose brush.
For outrigger pads, build a square platform at least three times the pad diameter. If the outrigger pad is 24 inches, your slash mat should be 6 feet square. This ratio keeps ground pressure low even if the crane swings a heavy load overhead.
Safe Removal and Site Restoration
Once the job is done, resist the temptation to scoop the entire mat into the chipper in one bite. Instead, peel back layers systematically to avoid tearing turf or re-compacting soils.
Begin at the mat edges and work inward, removing the topmost layer first. Immediately rake underlying soil to loosen any compressed areas and restore grade. If ruts remain, backfill with loose native soil—never leave depressions that collect water. For high-value turf, overseed with a matching blend and roll lightly.
Finally, recycle the slash. Larger limbs become firewood, medium pieces feed the chipper for mulch, and the smallest twigs compost quickly. Leaving a neat pile of sorted material shows professionalism and keeps disposal costs low.
Slash Mats vs Alternatives: Cost, Time, and Effectiveness
Plywood road mats run $400–$500 each and require a flatbed to deliver. Composite crane pads cost $700–$1,200 per pad plus freight. In contrast, slash is free, biodegradable, and already on site.
| Method | Cost per 100 sq ft | Setup Time | Load Rating | Reusability |
|---|---|---|---|---|
| Slash Mat | $0 (labor only) | 20 min | Light-medium axle loads | Single job |
| Plywood Panels | $80–$120 | 10 min | Medium-heavy loads | 20–30 jobs |
| Composite Pads | $250–$400 | 5 min | Heavy crane outriggers | 100+ jobs |
Slash mats shine on residential pruning jobs where equipment weight is under 12,000 lb and setup space is tight. For 90-ton cranes or tracked feller-bunchers, invest in commercial mats. Know the point where slash can no longer carry the load; that threshold is roughly 15 psi ground pressure.
What to Do Next: Simple action Plan
Before your next tree job, walk the site and flag every route the chipper, crane, or skid-steer will travel. Estimate the weight and ground pressure of each machine. If any path crosses the dripline, saturated soil, or slopes greater than 3:1, plan to build slash mats. Stockpile limbs as you prune, buck them to length, and stage the first layer before the equipment arrives. A 20-minute investment in mat construction prevents days of remediation and keeps both the tree and the client happy.
