
Avoid These Winch Felling Mistakes
Tree felling isn't just about cutting - it's about controlled physics. Learn the safety protocols, notch techniques, and when to call a pro.
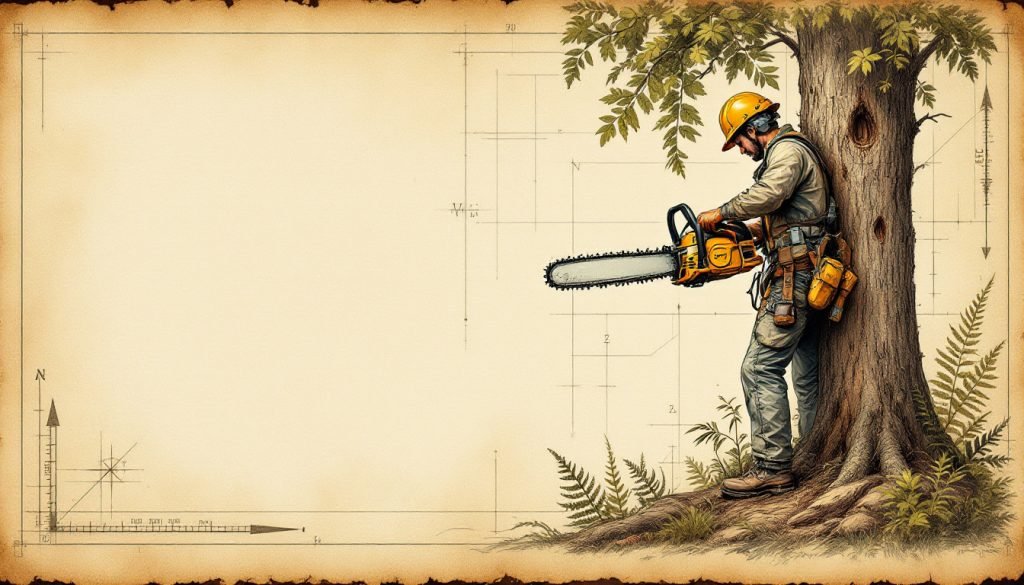
- Tree felling uses controlled physics through precise notch cuts and hinge thickness. Professional assessment covers 2x tree height radius for safety planning. Three-cut notch system: horizontal, sloping, back cut with 10% hinge remaining. DIY limit: 24-inch diameter or 40-foot height maximum with proper training. When in doubt, certified arborist consultation prevents catastrophic property damage.
You’ve got that leaning pine hovering over your driveway, or maybe the neighbor’s maple dropped a 40-foot limb across your fence. Suddenly “just cutting it down” seems more complicated than grabbing a chainsaw. Tree felling—the complete removal of a tree by cutting near its base—is one of the most dangerous operations in arboriculture. As an ISA Board Certified Master Arborist who’s investigated dozens of felling accidents, I can tell you that most disasters happen when homeowners underestimate the physics involved.
By the end of this guide, you’ll understand exactly what professional arborists evaluate before making the first cut, the three-cut notch system that controls tree direction, and most importantly—when tree size, location, or condition means you need to hire a certified arborist instead of risking life and property.
The Physics Behind Tree Felling: Why Trees Fall Where They Do
Every tree is a loaded spring waiting for release. The trunk stores enormous potential energy from years of growth against gravity. When we sever that trunk, we’re converting potential energy into kinetic energy—the tree falling. The critical factor isn’t the chainsaw—it’s the remaining wood fiber we leave intact, called the hinge, which acts as the steering mechanism.
The hinge forms between the notch cuts and the back cut. This 5-10% of the trunk’s diameter controls the tree’s fall direction through sheer wood strength. A properly formed hinge bends gradually, guiding the tree along the intended path. A poorly formed hinge—too thick, too thin, or cut at the wrong angle—either breaks catastrophically or fails to steer the tree at all.
Pro Tip: The hinge thickness should equal 10% of the trunk’s diameter at cutting height. On a 20-inch diameter tree, that’s exactly 2 inches of holding wood. Too thin and the tree splits unpredictably; too thick and the hinge won’t bend, causing the tree to sit back or barber-chair.
Wind adds another force vector that can override even perfect hinge control. Professional arborists abort any felling operation when sustained winds exceed 15 mph, because a 10 mph crosswind can shift a tree’s landing zone by 15-20 feet on a 60-foot specimen.
Pre-Felling Assessment: Reading the Tree and Its Surroundings
Before touching a chainsaw, professional arborists conduct a systematic assessment covering the tree itself and the surrounding area up to 2.0 times the tree’s height. This isn’t paranoia—it’s physics. A 50-foot tree can affect a 100-foot radius when things go wrong, and they often do when proper assessment is skipped.
Start with the tree’s structural integrity. Check for lean—the tree’s natural growth direction. Even a slight 5-degree lean affects everything. Look for cracked or hollow trunks, dead branches (widow-makers), and fungal conks indicating internal decay. A hollow trunk can reduce wood strength by 70%, making the hinge unreliable.
Warning Signs to Watch For
- Visible cavity at base: Indicates hollow trunk, reduces hinge strength significantly
- Multiple trunks forming V-crotch: Weak union prone to splitting during felling
- Dead branches overhead: Can break loose during cutting, falling without warning
- Leaning trunk with soil heaving: Tree already failing, unpredictable fall direction
Next, map your escape routes. You need two clear paths at 45-degree angles away from the intended fall direction. Remove brush, mark obstacles, and ensure these paths remain accessible as debris accumulates. Professional crews designate a “drop zone” where everyone must be when the tree starts moving—you should too.
The Three-Cut Notch System: Precision Over Power
The notch is the tree’s steering wheel. A conventional notch consists of three specific cuts made in precise sequence. Each cut has a calculated depth and angle that determines how the tree will behave once the back cut releases it.
The first cut is the horizontal face cut, made on the side facing the intended fall direction. This cut goes in exactly one-third of the trunk’s diameter, creating the notch’s bottom. Professional arborists use the chainsaw’s bar length as a measuring device—on an 18-inch bar, the cut stops when the tip reaches the far side of the trunk.
Tools You Will Need
- Chainsaw: 16-20 inch bar for trees up to 32 inches diameter, sharp chain essential
- Felling wedges: Plastic or aluminum, minimum 2 per tree, prevents saw pinch
- Sledgehammer: 3-4 pound for driving wedges, controls lean direction
- Measuring tape: For hinge thickness calculation and distance assessment
The second cut is the sloping cut, made at 45-70 degrees downward to meet the horizontal cut, forming the notch’s top. This angle determines how aggressively the tree commits to falling—steeper angles create faster, more forceful movement. The notch should open about 70-80 degrees total.
The final cut is the back cut, made on the opposite side, 1-2 inches above the horizontal notch cut. This maintains the hinge and prevents the tree from kicking back over the stump. Stop the back cut when you have exactly 10% of the trunk’s diameter remaining as the hinge.
Size Thresholds: When DIY Becomes Risky
Here’s where I draw the professional line: any tree larger than your outstretched arms can reach around (roughly 24 inches diameter) requires a certified arborist. This isn’t about chainsaw capability—it’s about control. A 30-inch diameter oak weighs approximately 4.5 tons. Once it starts moving, you cannot influence its path.
Height matters more than diameter. Trees over 40 feet create what’s called the “balloon effect”—the top moves 2-3 times faster than the base, creating whip action that can snap the trunk mid-fall. Professional crews use winch tensioning and mechanical advantage to control descent, techniques requiring specialized training and equipment.
| Tree Size | DIY Risk Level | Professional Recommendation |
|---|---|---|
| Under 12″ diameter, 25′ height | Low with proper technique | Homeowner possible with training |
| 12-24″ diameter, 25-40′ height | Moderate to high | Consider certified arborist |
| Over 24″ diameter, 40’+ height | High to extreme | Professional required |
Location multiplies risk exponentially. Any tree within 1.5 times its height of structures, power lines, or valuable property requires professional assessment. A 30-foot tree within 20 feet of your house isn’t a DIY project—it’s a liability claim waiting to happen.
Common Felling Disasters and How to Avoid Them
The barber-chair is the most terrifying felling failure. The trunk splits vertically up the tree as the back cut progresses, creating a vertical slab that falls backward toward the sawyer. This happens when the hinge is too thin or the tree has internal stress. Professional arborists identify stressed trees by studying bark patterns and use bore cuts to prevent splitting.
Common Mistakes to Avoid
- Incorrect notch angle: Too shallow causes tree to sit back, too steep creates uncontrolled fall
- Back cut above notch: Creates unstable hinge, tree twists and falls off-line
- Cutting through hinge: Eliminates steering control, tree falls wherever gravity takes it
- Ignoring wind shifts: Sudden gust can override hinge control, especially with tall trees
Pinch points occur when the tree settles onto the chainsaw bar during the back cut. This traps the saw and can pull the operator into the cut zone. Professional arborists carry plastic felling wedges to drive into the back cut, keeping the kerf open and preventing pinching.
The hung tree—where the tree doesn’t fall completely and remains lodged in surrounding vegetation—is a professional-level recovery situation. Never cut from underneath a hung tree, and never attempt to pull it down with vehicles. These situations require rigging and hand winch systems that arborists train for extensively.
Post-Felling: Managing the Aftermath Safely
The danger isn’t over when the tree hits the ground. Limbs under tension can spring violently when cut. Professional crews work systematically from the tree’s top downward, cutting branches in compression first, then tension. This prevents the trunk from rolling or shifting unexpectedly.
Spring poles—branches pinned under the fallen trunk—store enormous energy. Cutting the wrong section can launch a branch like a catapult. Professional arborists identify these hazards and use controlled release cuts to dissipate energy safely.
When to Act
Best window: Early morning with calm conditions. Avoid felling after rain when wood is heavier and bark more slippery. Summer heat increases chainsaw overheating risk. Winter felling offers better control but requires cold-weather saw maintenance.
Stump height affects both safety and future use. Cut stumps 6-12 inches above ground level for easier removal, or flush with grade for mowing. Never leave high stumps—they create tripping hazards and complicate future grinding operations.
When Professional Help Becomes Essential
Here’s my rule after 25 years in the field: if you need to ask whether it’s safe, it’s probably not. Professional arborists carry $2-5 million in liability insurance specifically for tree felling operations. That cost reflects the real risks involved.
Certified arborists bring capabilities beyond basic cutting. We calculate precise hinge dimensions based on species-specific wood properties. Sugar maple requires different hinge thickness than white pine because their fiber strength differs by 40%. We use bore cutting techniques to prevent barber-chair splitting and install rigging systems to control descent in confined spaces.
The cost equation usually surprises homeowners. A professional removal for a 30-foot tree typically runs $400-800 including cleanup. Compare that to the average homeowner’s insurance deductible ($1,000-2,500) plus potential structural damage costs. Professional removal isn’t expensive—it’s cheap insurance against catastrophic loss. When accidents happen, expert witness testimony often reveals these incidents were preventable with proper assessment.
Your Next Steps: Making the Safe Decision
Measure your tree’s diameter at chest height using a tape measure. If it’s over 24 inches, or within 1.5 times its height of anything valuable, call a certified arborist for assessment. Most offer free evaluations and will explain exactly what makes your situation complex.
For smaller trees, take a chainsaw safety course through your state’s forestry extension. These 8-hour courses teach proper notch cutting and provide supervised practice on actual trees. Never practice felling techniques on your target tree—mistakes there have permanent consequences.
Document everything before calling professionals. Take photos showing the tree’s lean, surrounding obstacles, and any visible damage. This information helps arborists plan the removal and provide accurate quotes. Most importantly, never let urgency override safety—a dangerous tree that waited years can wait another day for proper professional removal.
