
The Ultimate Guide to When Hand Axe is Safer
Root girdling silently strangles trees from below. Learn to spot, fix, and prevent this common killer before it’s too late.
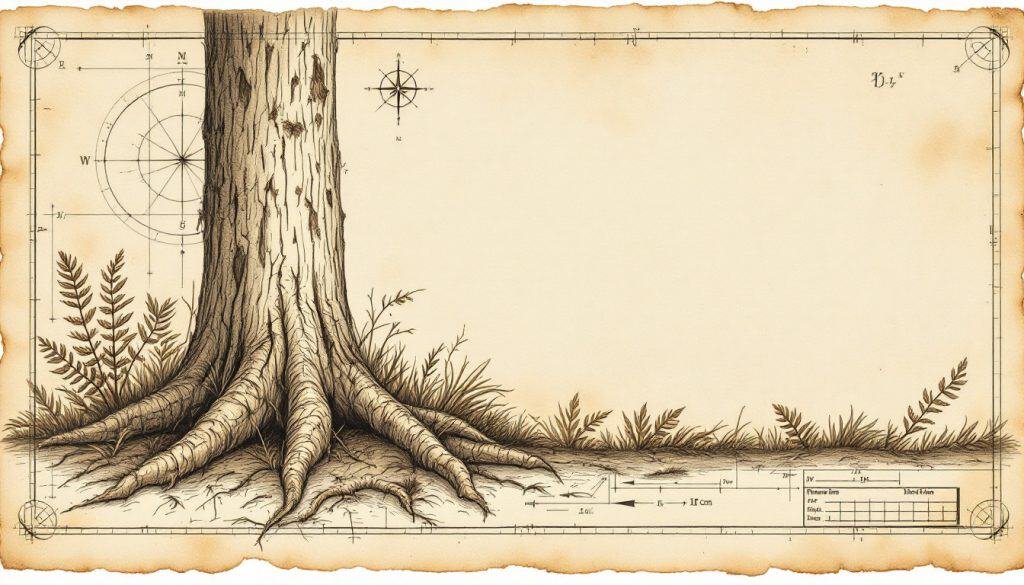
- Root girdling is circular root growth that compresses the trunk’s vascular tissues. Symptoms include delayed leaf-out, early fall color, and flattened trunk areas. Air excavation exposes roots without damage; prune 3 in thick or >25% of root area, consult a certified arborist.
You planted a maple ten years ago. It leafs out every spring, but the crown seems thinner each year and the trunk never thickens. Last week you noticed a slight lean after a calm rain—no wind, no storm damage. What you cannot see may be killing your tree: roots that have grown in a circle around the stem, slowly choking the flow of water and nutrients. As an ISA Board-Certified Master Arborist, I have diagnosed hundreds of these cases across Texas, and the pattern is almost always the same. By the end of this article you will know how to recognize root girdling, why it happens, and the steps that give your tree its best chance at a full, stable life.
What Root Girdling Actually Is
Root girdling occurs when one or more structural roots grow laterally around the trunk instead of radiating outward. Over time the encircling root increases in diameter, pressing against the trunk like a tightened hose clamp. The cambium layers fuse, compressing the phloem and xylem and cutting off carbohydrate transport from the canopy and water transport from the soil. A tree can tolerate a single small girdling root for decades, but multiple large ones can decline in as little as three to five years.
The condition is almost always human-induced. Container-grown stock, heavily compacted planting holes, and deep planting all redirect roots back toward the stem instead of outward. Once the root diameter exceeds about one-third of the trunk diameter at that height, removal becomes risky because the root is now a structural brace as well as a conduit.
Root Girdling: A root that circles the trunk or another root, eventually strangling conductive tissues as both enlarge.
Why Trees Develop Girdling Roots
The immediate trigger is a physical barrier that forces roots to turn. In pots, roots hit the plastic wall and follow the curve. In the landscape, compacted soil, sidewalks, or even the smooth glazed wall of a poorly dug planting hole can do the same. The root senses lower oxygen or higher mechanical resistance and reorients toward the only open space—the center of the planting area.
Deep planting is the most common cause I see in Texas. When the root flare is buried three or four inches below grade, the lower trunk behaves like potting media; adventitious roots emerge and grow upward, then bend sideways when they hit air. The resulting “bowl” of roots circling the buried trunk is textbook girdling. Trees planted even an inch too deep in heavy clay are at risk.
Genetics matter. Norway maple, red maple, linden, and many oaks are prone to aggressive lateral roots that respond strongly to confinement. In contrast, river birch and bald cypress rarely girdle because they produce deep, wide-spreading sinker roots early.
Pro Tip: On new plantings, find the topmost structural root and plant so that root is just below the soil surface—often 1–2 inches higher than the nursery tag suggests.
Early Symptoms Homeowners Can Spot
Decline from girdling is gradual, so the first signs are subtle. Watch for a canopy that leafs out two weeks later than neighboring trees of the same species, or leaves that stay smaller and lighter green even after fertilization. Fall color may arrive early and persist on the tree longer because sugar transport is blocked. On maples, the lateral edges of leaves often scorch by midsummer although soil moisture is adequate.
Trunk symptoms are more definitive. Look for a flattened or indented area on one side of the trunk where a root presses inward. On some species the bark develops a vertical split directly above the girdling root as the stem expands faster than the root allows. If you push on the trunk at chest height and feel slight movement at the root flare, the structural roots may not be anchored; girdling roots prevent normal flare development.
Warning Signs to Watch For
- Early leaf drop on one side: Indicates partial phloem blockage, often the north side first.
- Trunk flattening: Visible dent or loss of roundness where root presses.
- Reduced twig elongation: Measure current season’s growth; less than 2 in (5 cm) on established trees signals stress.
Diagnosing Below Ground Without Excavating
You do not need to remove all the soil to confirm girdling. Start at the trunk and probe with a long screwdriver every few inches; when you hit a solid object ¼–½ inch below the surface, you have likely found a circling root. Follow it laterally—if it continues to curve around the trunk, mark the location with chalk. Repeat every 45°. Three or more such roots at the same depth strongly suggest girdling.
Air excavation with a supersonic nozzle or Air-Spade is the gold standard. The tool blows soil away without cutting feeder roots, letting you map the entire root flare in minutes. Most certified arborists carry this equipment; hourly rates in Texas run $150–$200, but a full diagnosis for a 12-inch caliper tree usually takes under 30 minutes.
Corrective Root Pruning Strategy
Never remove more than one-third of the total root cross-sectional area in a single growing season. Start by cutting the smallest girdling roots first, working upward in diameter. Use a sharp, sterilized pruning saw; make the cut flush to the trunk so woundwood can seal. Leave a stub only if removing it would damage the trunk bark.
After each cut, check the canopy response the following spring. If twig elongation doubles and leaf size normalizes, you have removed enough. If decline continues, schedule a second session in the next dormant season. For roots thicker than 3 in (7.5 cm) at the point of contact, consider hiring a certified arborist; large roots often provide structural support and may require cabling or supplemental anchorage after removal.
Step-by-Step Root Pruning
- Expose the root flare with hand tools or air excavation.
- Mark each girdling root with flagging tape and measure its diameter.
- Cut roots <1 in (2.5 cm) first, removing no more than 25% of total area.
- Backfill with native soil, water deeply, and mulch 2–3 in deep.
Prevention During New Planting
Always remove the topmost circling roots from the container before planting. Use a hand saw to slice the rootball vertically in three or four places, 1 in deep, then tease the roots outward. Dig the planting hole at least twice as wide as the rootball but no deeper; the flare should sit on undisturbed soil to prevent settling.
Score the sides of the hole with a shovel to break glazing, and incorporate 20% compost only if your native soil is heavy clay. Water thoroughly at planting, then switch to deep, infrequent irrigation to encourage outward root growth. A final step often skipped: remove nursery stakes and any synthetic twine around the trunk; both create artificial pressure points that redirect root growth.
Long-Term Tree Recovery Outlook
Trees under ten years old usually recover full vigor within two seasons after proper root pruning. Older trees need longer monitoring; expect five to seven years for canopy density and trunk taper to normalize. During recovery, maintain consistent soil moisture but avoid overwatering—girdled roots often have reduced capacity for gas exchange, and saturated soils compound stress.
Supplemental fertilization is rarely needed; instead, focus on mulching with arborist chips 3 in deep out to the drip line. The slow-release nutrients and improved soil biology support new feeder root proliferation. If the tree leans more than 5° after root removal, install a low, flexible guy wire for one growing season to prevent wind throw while new anchorage forms.
When to Call a Professional
Contact a certified arborist if the girdling root diameter exceeds half the trunk diameter at that point, if the tree is within striking distance of a target, or if you need to excavate more than 30% of the root zone. Advanced air excavation, structural support systems, and post-pruning monitoring are best handled by professionals with liability insurance.
Michael Hartman, ISA Master Arborist TX-0198B, routinely coordinates with municipalities to save heritage oaks where utility trenches have redirected roots. Early intervention—ideally at the first sign of canopy thinning—can add decades to a tree’s life and avoid the far higher cost of removal and replacement.
Conclusion and Next Steps
Root girdling is a slow-motion emergency that begins the day a tree is planted too deep or left in a pot too long. Walk your property this weekend and check the base of every tree; if you cannot see a visible flare at soil level, investigate further. For young trees, lift and replant correctly now—tomorrow’s 30-year-old specimen depends on today’s ten minutes of attention. When in doubt, schedule an air excavation with a certified arborist; the cost of diagnosis is a fraction of the value a healthy, mature tree adds to your home.
When working near the trunk, avoid an axe glancing blow by choosing the right felling axe vs hand axe for the job. For safety fundamentals, review axe safety camp guidelines before any cutting.
