
The Ultimate Guide to Tree Felling Hand Saw
Master the art of felling trees safely with a hand saw through proven arborist techniques and tool selection.
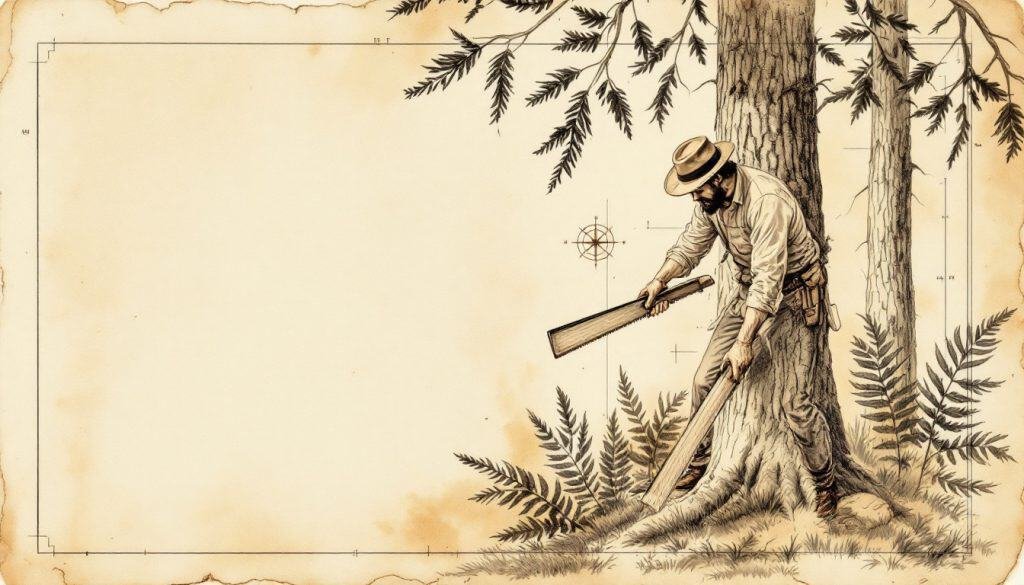
- Hand felling works best on trees under 20" diameter and 50 feet height. A 36" crosscut saw with champion tooth pattern handles most hardwoods efficiently. Proper notch angle of 70 degrees creates optimal hinge wood for directional control. Watch for root movement over 2" - indicates compromised tree stability. Calculate fall zone at 1.5x tree height minimum before cutting.
You stood in your backyard this morning staring at that leaning maple, chainsaw in hand, when the neighbor’s kid asked, “Why don’t you just use a hand saw like Paul Bunyan?” You laughed, then realized you have no idea if that’s even practical. Whether you’re facing a storm-damaged pine blocking your driveway or managing a selective harvest on wooded acreage, the question isn’t whether you can fell a tree with a hand saw felling – it’s whether you should, and how to do it without destroying your spine or your property.
As an ISA Board Certified Master Arborist who’s personally dropped 200-year-old oaks with nothing more aggressive than a 36-inch crosscut, I’m here to tell you that hand felling remains a viable technique when powered equipment isn’t practical or available. By the end of this guide, you’ll understand exactly which trees suit hand felling, how to choose and maintain the right saw, the physics behind directional felling, and when to absolutely call in professionals instead of channeling your inner lumberjack.
Why Hand Felling Still Matters: The Biology and Physics
Modern arboriculture relies heavily on chainsaws for speed and efficiency, but hand felling offers precision and control impossible with powered equipment. The key lies in understanding how trees actually fail. When you introduce a chainsaw’s 55 mph chain speed, you’re creating rapid, aggressive cuts that can mask critical feedback from the tree. Hand sawing forces you to read the tree’s responses in real-time – the subtle shift in pressure against your blade, the slight lean as gravity begins its work, the audible cracking that precedes failure.
From a biological perspective, hand sawing generates minimal cambium damage beyond the cut zone. Chainsaws create heat and vibration that can extend wound response several inches from the cut face, potentially affecting the structural integrity of remaining wood in ways that aren’t immediately apparent. This matters when you’re felling trees that will become wildlife snags or when managing a sustainable woodlot where residual trees must remain healthy for decades.
The physics break down to leverage and patience. A properly sharpened hand saw cuts at roughly 1-2 inches per minute in softwoods, 0.5-1 inch per minute in hardwoods. This deliberate pace allows continuous assessment of the tree’s response to each cut, giving you time to adjust your notch or retreat if conditions change. The mechanical advantage comes from the saw’s tooth geometry – each tooth acts as a miniature plane, slicing wood fibers rather than tearing them like a chainsaw’s ripping action.
Term: Notch cut refers to the 70-degree face cut made on the tree’s intended fall side, creating a hinge that guides the tree’s descent path.
Choosing Your Weapon: Hand Saw Selection Criteria
Selecting the right hand saw for felling requires understanding three critical factors: tooth pattern, blade length, and steel quality. For trees under 12 inches diameter, a 28-30 inch bow saw with raker teeth handles most softwoods efficiently. The raker pattern clears sawdust from the kerf, preventing binding in pitch-heavy species like pine. For hardwoods above 8 inches diameter, step up to a 36-inch crosscut saw with champion tooth pattern – the alternating bevels slice both directions of grain for faster cutting.
Blade steel matters more than most people realize. Look for taper-ground blades made from 1095 high-carbon steel, hardened to 50-52 HRC. This provides the durability needed for extended felling sessions without the brittleness that causes teeth to snap when hitting knots. The taper grind – thinner at the back than the teeth – reduces binding and allows the blade to track straight through largeed cuts.
Handle geometry determines fatigue levels during long cuts. Traditional straight handles force your wrist into awkward angles, contributing to repetitive strain injuries. Modern felling saws use pistol-grip handles angled 12-15 degrees from the blade plane, aligning your forearm with the cutting motion. The grip should be shaped from dense hardwood like hickory or ash, with a swell at the end to prevent slippage during the final push through the tree.
Pro Tip: Test any potential felling saw by making a 4-inch cut in hardwood. The saw should glide through with steady pressure, not require herculean effort. If you can’t maintain conversation while cutting, the saw needs sharpening or isn’t suited for felling work.
Reading the Tree: Pre-Felling Assessment Protocol
Before touching steel to bark, spend ten minutes assessing the tree’s natural lean, crown weight distribution, and potential obstacles. Even experienced arborists miss obvious hazards when rushing this step. Start by walking a complete circle around the tree, noting any lean greater than 5 degrees from vertical. This natural lean will dominate the felling direction regardless of your notch placement – fighting it with improper cuts creates dangerous barber-chair situations where the trunk splits vertically.
Crown weight assessment requires looking beyond the obvious. Heavy limbs on one side create rotational forces during felling that can pull the tree off its intended path. In conifers, look for needle density differences – the heavier side typically has darker, denser foliage. Deciduous trees show crown weight through branch diameter; limbs thicker than 4 inches on one side require adjusting your felling angle 10-15 degrees toward the heavy side to compensate.
Root stability checks often get overlooked in the excitement of felling. Rock the trunk gently – any movement greater than 2 inches at ground level indicates compromised anchorage. Look for fungal conks at the base, especially honey-colored Armillaria clusters or shelf-like Ganoderma formations. These indicate root rot that can cause the tree to fall unpredictably, often backward toward the sawyer.
Warning Signs to Watch For
- Cracks in the trunk: Vertical splits extending more than 6 inches indicate structural weakness
- Hollow sounds: Tap the trunk with a mallet – hollow echoes suggest internal decay
- Leaning with upturned roots: Ground heaving on the opposite side means the tree is actively failing
The Felling Cut Sequence: From First Bite to Final Drop
Master hand felling requires following a precise sequence that hasn’t changed since Victorian lumber camps. Start with your notch cut at chest height on the tree’s intended fall side. The notch should be 70 degrees from horizontal, extending exactly one-third into the tree’s diameter. This angle creates optimal hinge wood thickness – too shallow and the tree falls prematurely, too steep and the hinge may not break cleanly, causing hang-ups.
The back cut begins 1-2 inches above the notch’s apex, creating a step that prevents the tree from sliding backward off the stump. Cut straight through, maintaining the same plane as your notch bottom. This cut should leave hinge wood approximately 10% of the tree’s diameter – for a 20-inch tree, that’s 2 inches of uncut wood guiding the fall. Listen carefully during this cut; when you hear cracking sounds from the notch, the tree is beginning its descent.
As the tree commits to falling, resist the urge to run immediately. Take three deliberate steps back at a 45-degree angle from the expected fall path, keeping the tree in sight. This retreat angle protects you from both the trunk and potential widow-makers – loose limbs that can dislodge during the fall. Watch for the tree’s hinge to sever completely; if it hangs up on neighboring treesets, clear the area and reassess rather than attempting to finish the cut while the tree is suspended.
Pre-Felling Checklist
- Clear escape routes at 45-degree angles from fall path
- Check wind direction and speed – abort if gusts exceed 15 mph
- Confirm no power lines within 1.5x tree height
- Have wedges and sledge ready for leaners that don’t commit
- Establish visual signals with any assistants
Maintenance and Sharpening: Keeping Your Edge
A dull felling saw is more dangerous than a sharp one – it requires excessive force that can lead to loss of control and shattered teeth. Professional sharpening follows the original tooth geometry religiously. For crosscut saws, alternate teeth are filed at 60 degrees to the blade centerline, creating the characteristic “M” pattern that slices wood fibers efficiently. Each tooth should receive 3-5 light strokes with a 7-inch taper file, maintaining the original set (bend) that creates the kerf width.
Cleaning between uses prevents rust and pitch buildup that degrades cutting performance. After each felling session, scrub the blade with a wire brush and mineral spirits to remove sap and sawdust. Dry thoroughly, then apply a light coat of camellia oil or other non-gumming lubricant. Store saws horizontally in a dry location – hanging vertically can cause blades to warp over time, especially in humid climates.
Tooth setting requires specialized tools but transforms cutting efficiency. A properly set saw has teeth bent alternately 0.006-0.008 inches from the blade centerline. This creates clearance for the blade body, reducing binding in wet wood. Test your set by making a shallow cut in scrap wood – the kerf should be 20% wider than the blade thickness. Too much set makes the saw wander, too little causes binding and overheating.
When to Call Professionals: Risk Assessment Matrix
Hand felling has clear limitations that even experienced arborists respect. Trees over 20 inches diameter in hardwoods or 24 inches in softwoods exceed practical hand-felling capacity for most individuals – the wood volume simply requires more cutting than human endurance allows. Similarly, any tree within one-half its height of structures, power lines, or public areas demands professional equipment and insurance coverage.
Species-specific considerations also dictate when to escalate. Elm and maple have interlocked grain that makes hand sawing extremely difficult – the grain direction changes every few inches, causing the saw to bind unpredictably. Cedar and other rot-resistant species may have internal decay invisible from the exterior, creating dangerous felling conditions. Professional arborists use resistograph drills to assess internal integrity before felling compromised trees.
Environmental factors can render hand felling unsafe regardless of tree size. Wind speeds above 10 mph create unpredictable fall behavior – that gentle breeze you feel at ground level translates to significant forces 50 feet up in the crown. Wet conditions reduce footing and increase wood weight by 20-30%, changing fall dynamics substantially. Ice or snow load adds hundreds of pounds to crown weight, often creating forces beyond hand-felling control techniques.
What to Do Next: Your Action Plan
If you’re ready to attempt hand felling, start conservatively with a 6-8 inch diameter straight pine in an open area. Practice your notch and back cut technique on this forgiving species before progressing to larger or more challenging trees. Document each attempt – photograph your cuts, measure hinge thickness, and note the tree’s actual fall path versus your intended direction. This builds the muscle memory and spatial awareness essential for complex felling scenarios.
For larger projects or questionable situations, contact a certified arborist for consultation. The International Society of Arboriculture maintains a certified arborist directory searchable by ZIP code. Expect to pay $150-300 for a site assessment, but consider it insurance against the $10,000+ cost of emergency tree removal after a failed DIY attempt. Many arborists will gladly explain their felling plan – use these consultations as learning opportunities to improve your own technique for appropriate situations.
Finally, join local forestry or arborist groups to gain supervised experience. Many state forestry departments offer hands-on workshops covering hand felling techniques, often at reasonable costs. These controlled environments provide trees selected specifically for learning progression, professional supervision, and the community connections that make tree management a collaborative rather than solitary endeavor.
