
Controlling Fall Without Chainsaw: A Practical Guide
Master the traditional art of felling trees with a crosscut saw using proven techniques from USDA Forest Service research and decades of field experience.
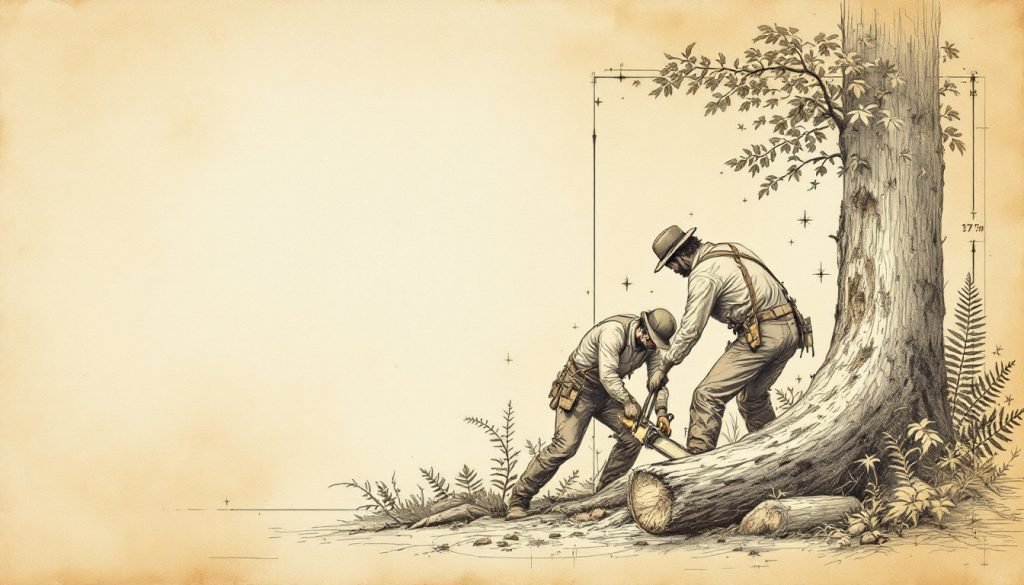
- Crosscut saws provide unmatched control for selective tree harvesting in sensitive areas. Open-faced notch at 45-50 degrees with 70% depth ensures precise directional control. Insert wedges at 40% completion to prevent binding before it occurs. Expect 2x chainsaw time initially, matching speed by tree 20 with superior precision. Master on small diameters before attempting specimens over 16 inches.
You’ve spotted the perfect white oak for your timber-frame project, but there’s no chainsaw in sight. Or perhaps you’re working in a wilderness area where mechanized equipment is prohibited. The solution isn’t modern – it’s traditional. Crosscut saw felling, the same technique used by loggers a century ago, remains the gold standard for selective harvesting in sensitive areas and for obtaining premium native building materials.
As someone who’s felled hundreds of trees with crosscut saws for bridge timbers, cribbing, and historic restoration projects, I can tell you this method isn’t just about nostalgia. When properly executed, a crosscut saw provides unmatched control, produces cleaner cuts than chainsaws, and creates a safer working environment in wilderness settings. By the end of this guide, you’ll understand exactly when and how to use this traditional technique for your specific tree harvesting needs.
The Biological Reality: Why Crosscut Saws Work So Effectively
Crosscut saws excel at felling because they work with the tree’s natural structure rather than against it. Unlike chainsaws that rely on speed and power, crosscut saws use precision and patience. The saw’s alternating cutting teeth create a kerf that follows the wood grain naturally, reducing splitting and producing what’s called a “singing” cut – the distinctive sound that indicates proper technique.
The physics is surprisingly simple: each tooth removes a small amount of wood fiber while the opposing tooth cleans the cut. This creates a smooth kerf that doesn’t bind or pinch as readily as chainsaw cuts. The slower cutting speed actually works in your favor, allowing you to read the tree’s response and adjust your approach in real-time. This is particularly important with species prone to splitting like chestnut oak or when working with trees under tension from lean or wind.
From a biological standpoint, crosscut saws cause less cambium damage at the stump. The cleaner cut means faster compartmentalization and better wound closure, which matters if you’re leaving seed trees or working in areas where stump health affects regeneration. The saw’s precision also allows for more accurate notch placement, which translates to better directional control when felling.
Kerf: The slot or groove created by the saw blade as it cuts through the wood, measured as the width of material removed during cutting.
When Crosscut Saws Are the Right Choice
Crosscut saw felling isn’t for every situation, but when conditions align, it’s superior to mechanized methods. The most obvious scenario is wilderness areas where chainsaws are prohibited – think National Forest wilderness designation or specific state park regulations. However, the applications extend far beyond regulatory compliance.
Selective harvesting for specialty lumber represents the sweet spot for crosscut techniques. When you need specific grain patterns for furniture making, bridge timbers for historic restoration, or native materials for traditional construction, a crosscut saw gives you ultimate control over the felling process. You can read the grain as you cut, stopping to adjust your approach if you encounter defects or changes in wood quality.
The technique also excels in tight quarters where chainsaw kickback risks are unacceptable. I’ve used crosscut saws to remove hazard trees leaning over historic structures where a chainsaw’s vibration might have damaged adjacent buildings. The slower, more controlled cutting process allows for minute adjustments and precise directional felling that mechanized methods simply can’t match.
Pro Tip: Always sound the tree before cutting – strike the trunk with a mallet and listen for hollow spots. A clear, ringing tone indicates solid wood throughout, while a dull thud suggests internal decay that will affect your cutting technique and directional control.
Essential Equipment and Setup
Success with crosscut saws depends entirely on having the right equipment in proper condition. The saw itself must be sharp and properly set – a dull crosscut saw is actually more dangerous than a sharp one because it requires excessive force and can bind unpredictably. One-person saws work for trees up to 16 inches diameter, while two-person saws handle larger specimens.
Your saw should have raker teeth properly filed to 0.003-0.005 inches below the cutting teeth for hardwoods, slightly less for softwoods. The set (the alternating bend given to each tooth) should be uniform at about 0.004 inches per side for most applications. These measurements aren’t arbitrary – they come from decades of USDA Forest Service testing and represent the optimal balance between cutting efficiency and kerf clearance.
Supporting equipment includes proper wedges – plastic felling wedges work better than traditional wooden ones because they won’t damage your saw if accidentally contacted. You’ll also need an axe for driving wedges and creating your notch, plus measuring tools for precise notch placement. Don’t overlook personal protective equipment: steel-toed boots, chainsaw chaps (yes, even for hand saws), helmet, eye protection, and ear protection against the distinctive singing sound of proper cutting.
Tools You Will Need
- Crosscut saw: One-person for up to 16″ diameter, two-person for larger trees
- Felling wedges: Plastic construction prevents saw damage, minimum 3-4 required
- Single-bit axe: 3.5-4 pound head for notch cutting and wedge driving
- Measuring tape: 25-foot minimum for accurate notch placement
- Cant hook: For log positioning and turning during bucking operations
The Felling Process: Step-by-Step Technique
Crosscut felling follows the same basic principles as mechanized felling but demands greater precision in execution. Start with your notch – typically a 45-50 degree open-faced notch that’s exactly 70% through the tree’s diameter. This differs from chainsaw recommendations because crosscut saws require more wood remaining in the hinge for directional control.
Begin your notch with the axe, creating crisp corners and clean faces. The top cut comes first, followed by the bottom cut meeting exactly at the notch’s apex. Any gap or overlap here will compromise your directional control. Take your time – I’ve seen experienced fallers spend 20 minutes perfecting a notch because they understand it determines everything that follows.
The back cut starts exactly 1 inch above the horizontal notch cut. This upward angle, called the stump shot, prevents the tree from kicking back toward you as it falls. Saw steadily, keeping the kerf straight and level. As you approach the hinge wood (the final 10% of the tree’s diameter), have your wedges ready. Drive them gently at first, then with increasing force as the tree begins to respond to your cut.
Felling Sequence Checklist
- Sounding the tree for internal defects and lean assessment
- Establishing escape routes at 45-degree angles from the expected fall line
- Cutting precise open-faced notch (45-50 degrees, 70% through tree)
- Making back cut 1″ above notch, maintaining straight kerf
- Inserting wedges before tree begins to move
- Executing controlled retreat along predetermined escape route
Reading the Tree and Adjusting Technique
Every tree presents unique challenges that require technique adjustments. Lean is the most obvious factor – a tree with 3 inches of lean requires significantly different notch placement than a perfectly vertical specimen. The rule of thumb is to move your notch 1 inch in the direction opposite the lean for every inch of lean present.
Wind creates another variable that’s often underestimated. Even a 5 mph breeze affects directional control, particularly with tall, slender trees like yellow poplar. I’ve learned to wait for calm conditions or work early morning when thermal winds are minimal. If wind is unavoidable, reduce your notch angle to 30-35 degrees to maintain better control.
Wood density dramatically affects cutting resistance and timing. Hard maple or hickory requires 40% more effort than softwoods of equivalent diameter. Adjust your expectations accordingly – what takes 15 minutes in white pine might require 35 minutes in rock elm. The saw’s singing quality changes too – denser woods produce a higher-pitched, more resonant tone that experienced fallers recognize immediately.
Common Problems and Solutions
Binding represents the most frequent issue with crosscut felling. This occurs when the kerf closes behind your saw, usually due to tree lean or internal stress. The solution isn’t brute force – it’s understanding why the binding occurs. Most binding happens in the lower portion of the cut where the tree’s weight begins to close the kerf.
Prevent binding by inserting wedges early and often. Start with one wedge when you’ve completed 40% of your back cut, add a second at 60%, and possibly a third as you near completion. The wedges should be driven gently – you’re maintaining kerf width, not forcing directional movement. If binding occurs despite wedges, stop cutting immediately and reassess the tree’s lean and weight distribution.
Kerf wander happens when your saw drifts off the intended line, usually due to inconsistent pressure or encountering reaction wood. The cure is immediate – stop cutting, withdraw the saw, and restart from the point where deviation began. Trying to correct mid-cut only compounds the problem and can create dangerous stress concentrations in the remaining wood.
Common Mistakes to Avoid
- Rushing the notch: Poor notch geometry causes 80% of directional failures
- Inadequate wedge placement: Waiting until binding occurs is too late
- Ignoring wind conditions: Even light breezes affect tall trees significantly
- Over-cutting the hinge: Leaving less than 10% of diameter compromises control
Post-Felling Considerations
Once the tree is down, your work has just begun. Crosscut saw felling produces cleaner, more precise cuts than chainsaw methods, which translates to better milling yield and reduced waste. The stump should show a perfect hinge with intact wood fibers – evidence of proper technique and timing.
Immediate limb removal follows traditional patterns. Start with the branches on the compression side of the tree (the underside) and work toward the tension side. This prevents the tree from rolling or shifting unexpectedly. Use your axe for smaller limbs and your crosscut saw for anything over 2 inches diameter – the same principles apply, just on a smaller scale.
Bucking the trunk into usable lengths requires understanding how the tree settled after felling. Check for tension in the trunk – compression on the bottom, tension on top. Cut from the compression side first, using wedges to prevent binding. For valuable lumber, take the time to read the grain patterns and adjust your cuts to maximize clear wood yield.
Mastering the Traditional Approach
Crosscut saw felling isn’t about rejecting modern methods – it’s about having the right technique for specific situations. The skills you develop translate directly to better chainsaw technique, improved tree assessment abilities, and deeper understanding of tree mechanics. More importantly, you gain access to areas and projects where mechanized methods simply aren’t appropriate or allowed.
The learning curve is real – expect your first dozen trees to take twice as long as chainsaw felling. However, by your twentieth tree, you’ll begin matching mechanized speeds while achieving superior directional control. The key is practicing on smaller diameters first, then gradually working up to larger specimens as your technique and confidence improve.
Consider finding an experienced mentor or attending a traditional skills workshop. The subtle aspects of saw maintenance, notch placement, and tree reading are best learned through direct observation and hands-on correction. The investment pays dividends whether you’re harvesting specialty lumber, working in wilderness areas, or simply wanting to master the foundational skills that all modern techniques build upon.
